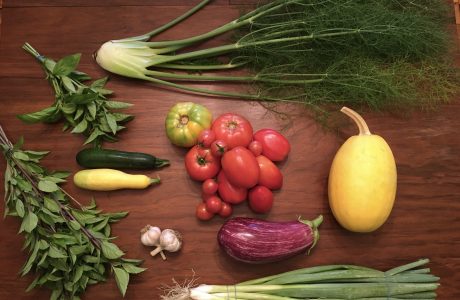
This past weekend, I began the process of getting my garden ready for planting.
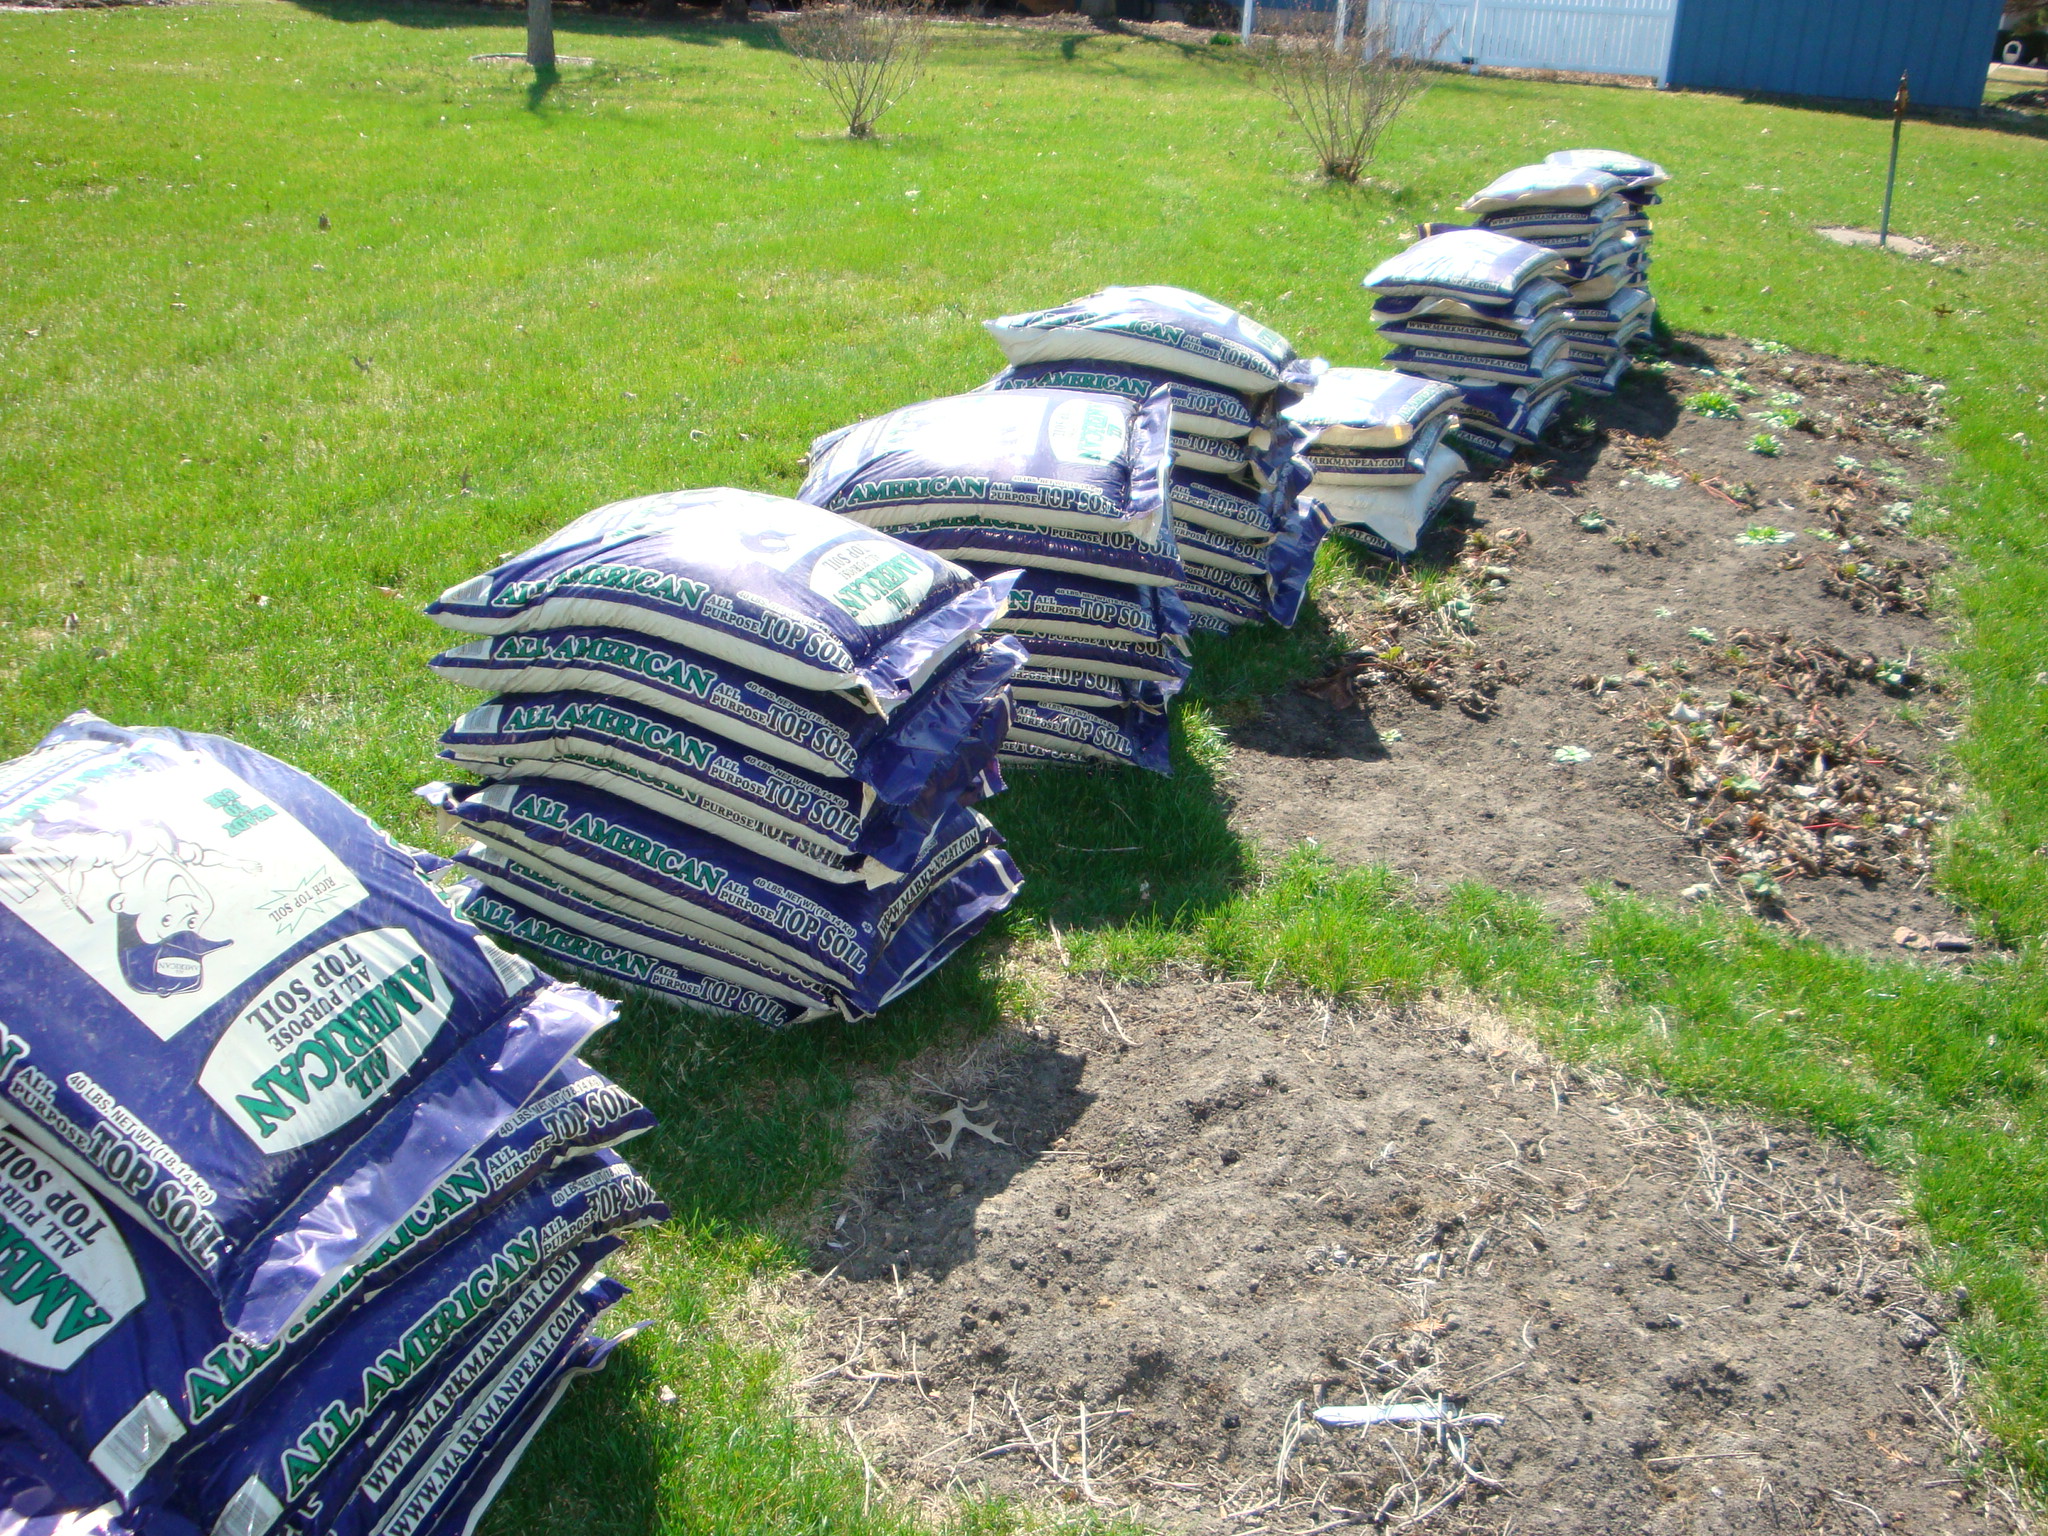
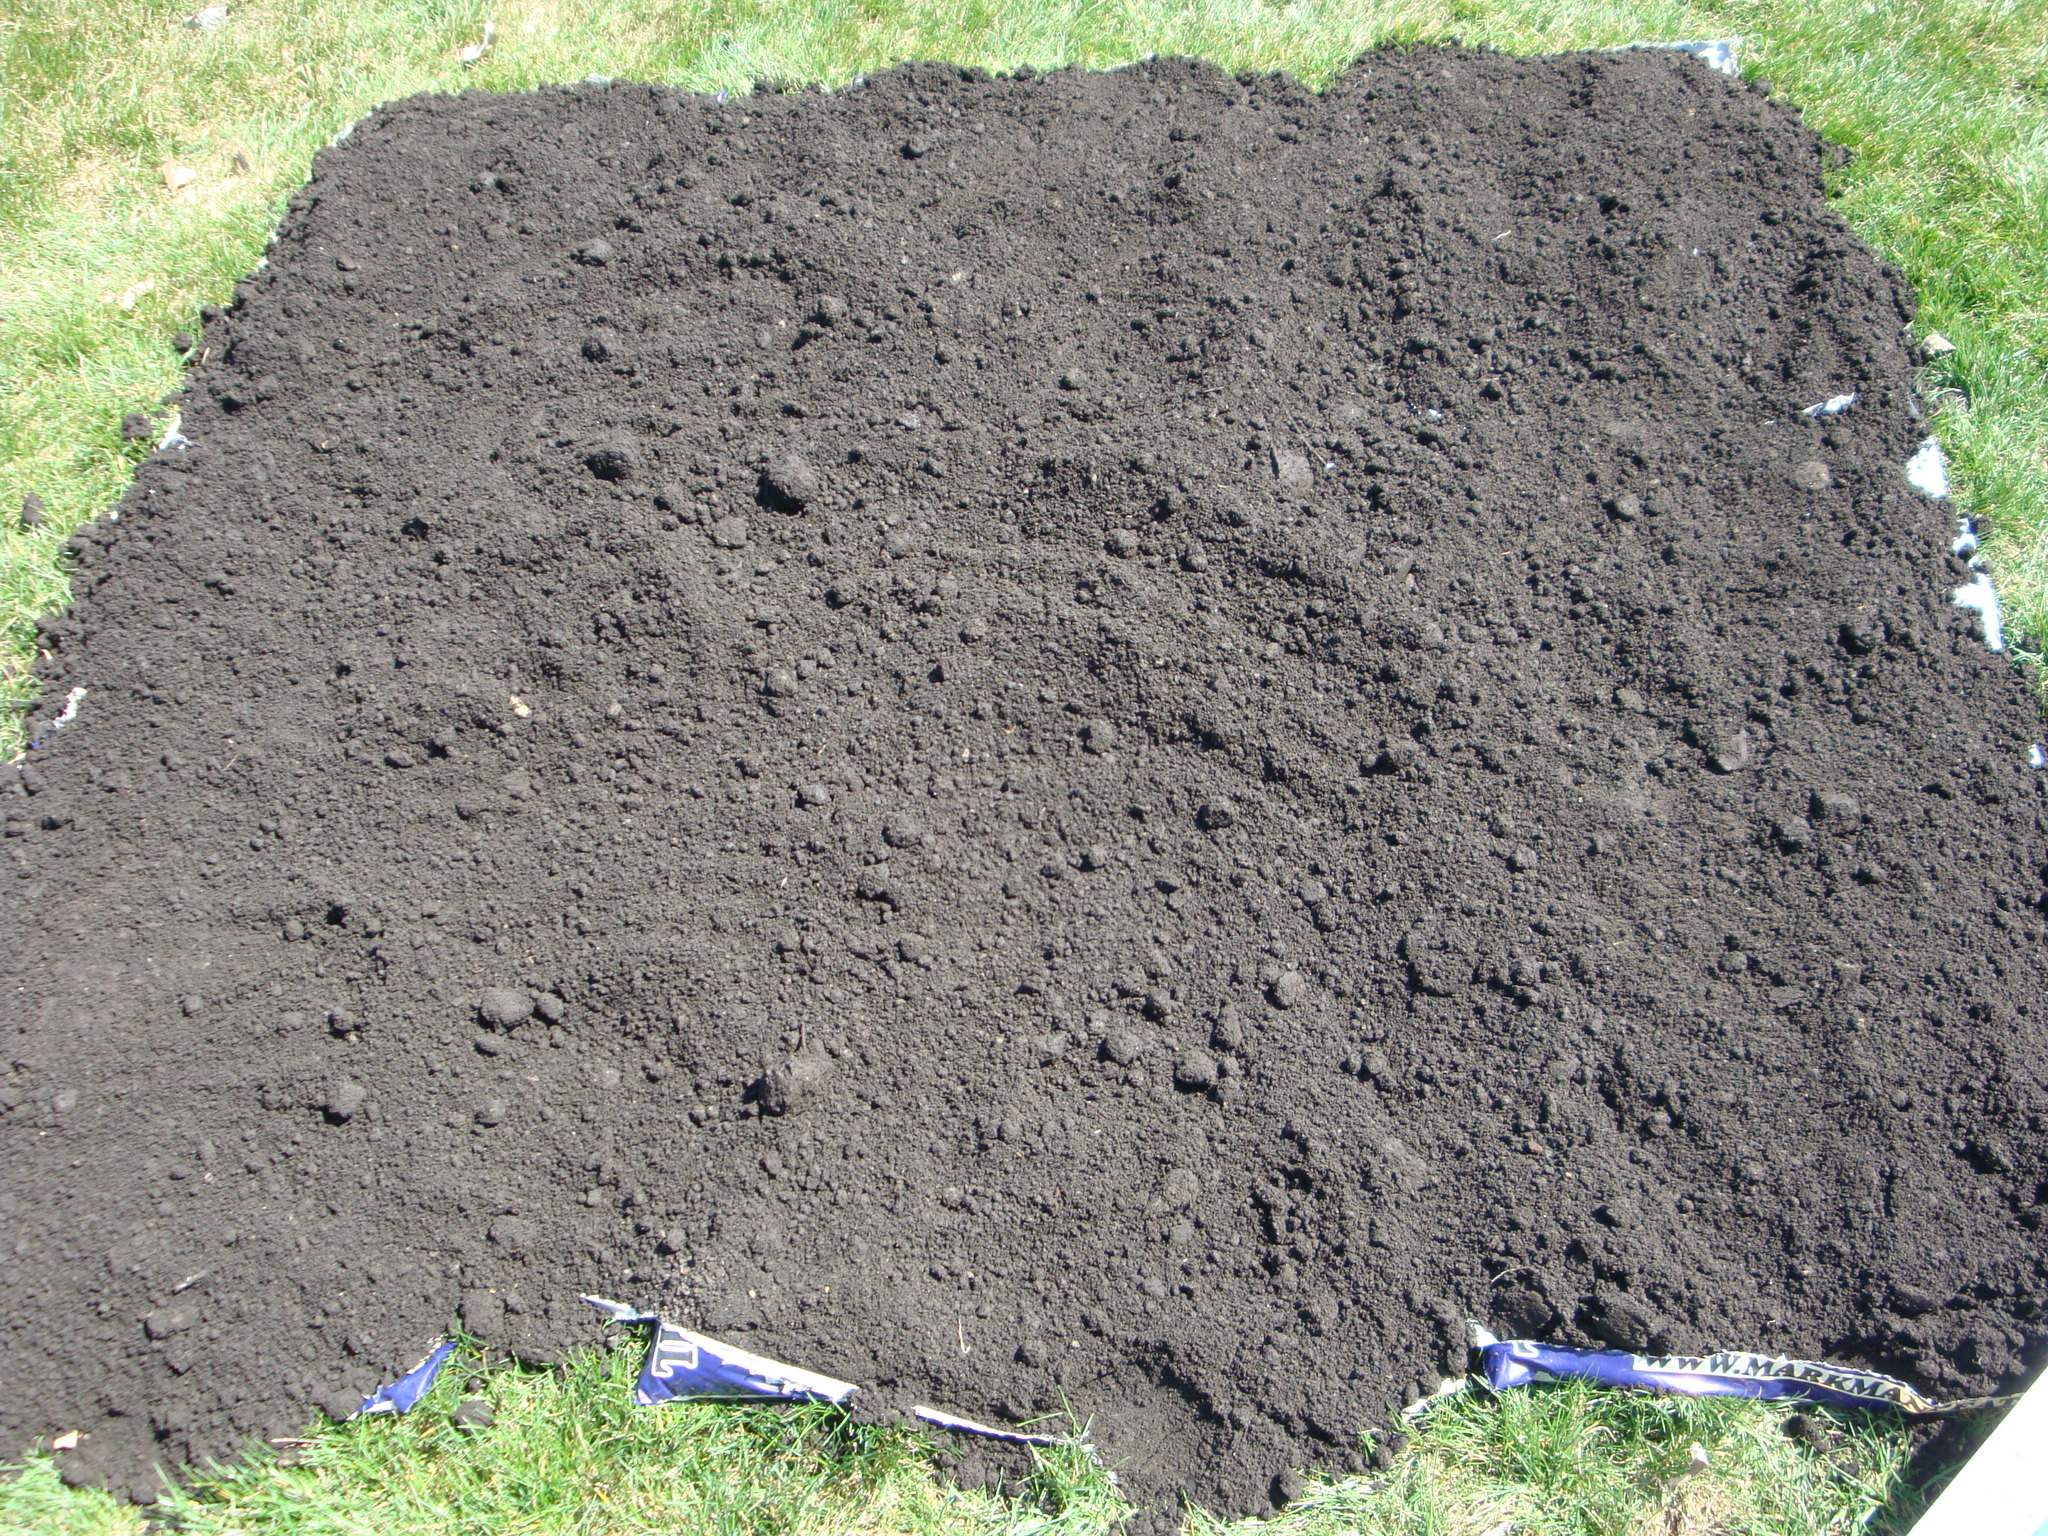
I had already cleared off all the remains of last years garden and, with plans of enlarging my growing space, Tommy loaded his trailer with 70 bags of topsoil and delivered it to my house.
Here’s what 70 bags of “dirt” looks like.
No Dig Garden
This may seem like a pretty unconventional way to expand garden space. Most people dig up sod and use a rototiller to work up the soil.
Well, first of all, I don’t own a rototiller and I’m too cheap I don’t want to spend the money to buy or rent one. Second, I have used this technique a few times and I know that it really works. And, third, I’ve done my share of digging up sod and I’m just too old I just don’t want to do it anymore.
I ran across this idea in Mother Earth News magazine and tweaked it a little to work for me.
Another great source for no dig garden information is the Happy DIY Home with start to finish instructions using different techniques, and some great suggestions on maintaining your gardens.
I like to have smaller beds so I don’t have to walk in the dirt too much during the season and I tend to plant things in groupings rather than rows.
I have a lot of 5 x 5 foot plots with a couple of long but relatively narrow plots that make up my growing areas.
To get new plots started, I just take 6 bags of dirt and space them out over the area I want to use. I use 6 bags for a 5 x 5 foot area.

I cut the bags open on one side and across the top and bottom and peel back the plastic to cover the exposed grass tucking it under the next bag.
This year I supplemented down the center of the bags with news paper.
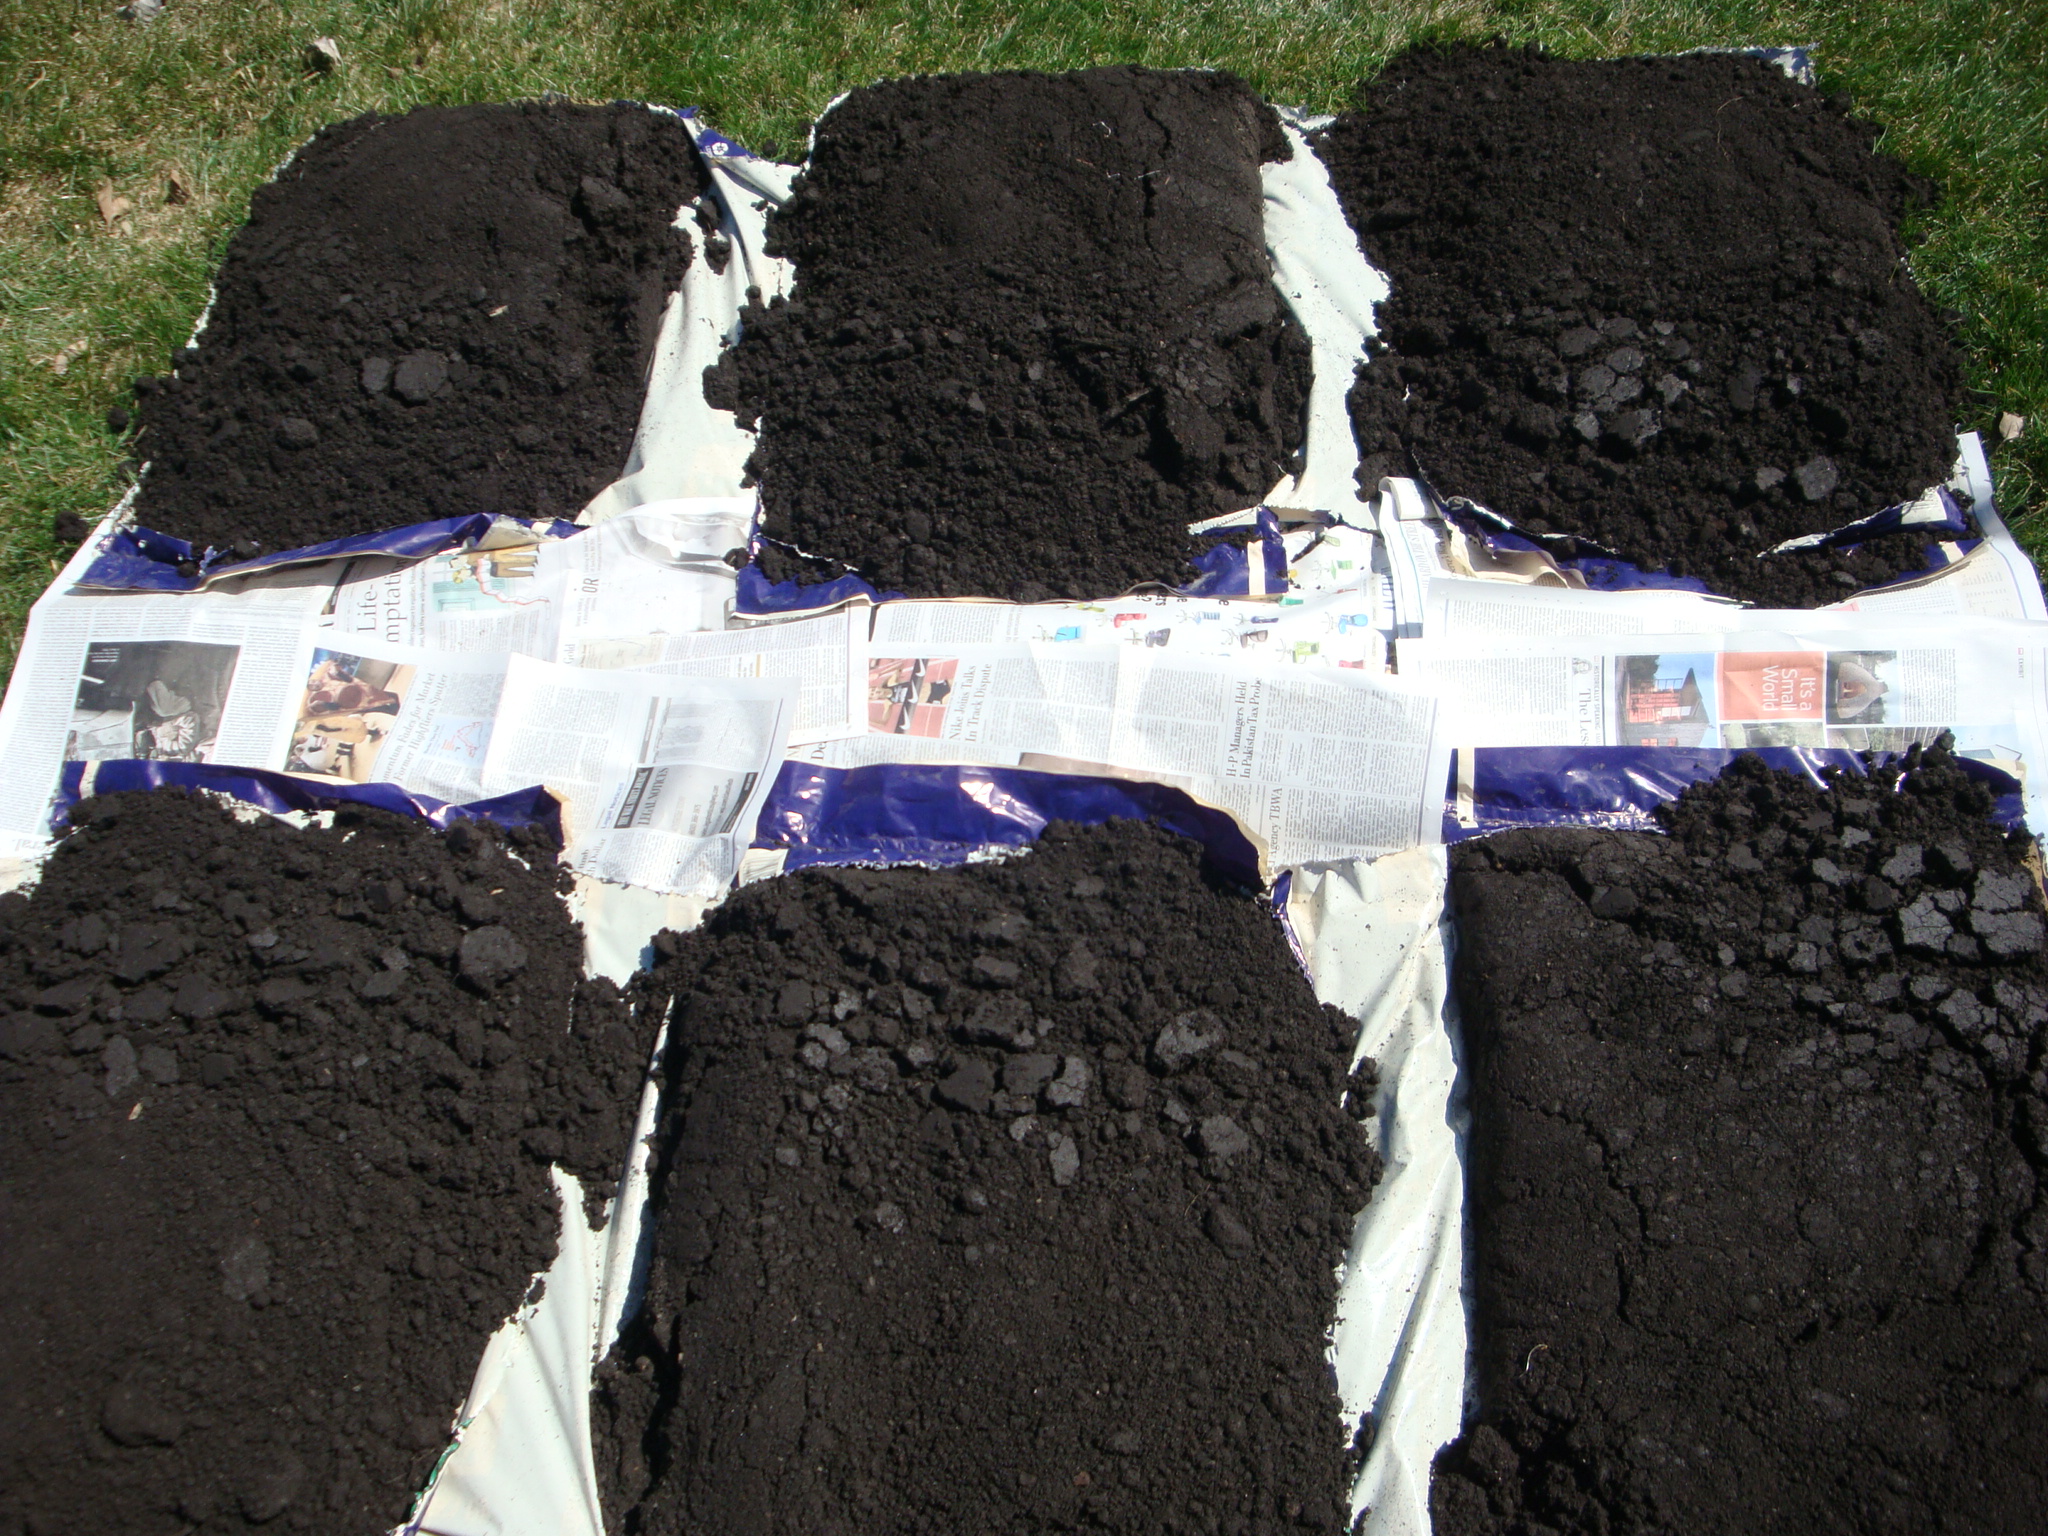
Then I spread the dirt over all the plastic and newspaper.
This will eventually kill the grass so I don’t have to dig up sod.
When I plant I just make sure I cut an opening through the plastic so roots can take hold in the soil and then plant seeds or transplants as I normally would. I also poke some holes through the plastic for drainage purposes.
I leave the plastic underneath till the end of the season. When I clear off the garden in the fall I remove the plastic and the grass is gone. The next year it’s easy to work up with just a hoe.

All the areas around the edges are new this year while the plots in the middle are from previous years.
It saves a lot of back breaking work in the spring.
My Tommy has instructions to have me legally committed if I suggest expanding the garden size again next year.
Update 2020! After starting a market garden business in 2018, obviously I have been forgiven and am still roaming the community, but now as a small business owner in addition to the other “hats” I wear.
My plots are now larger and in different shapes, but I am committed to keep my gardens both beautiful and carefully environmentally healthily maintained.
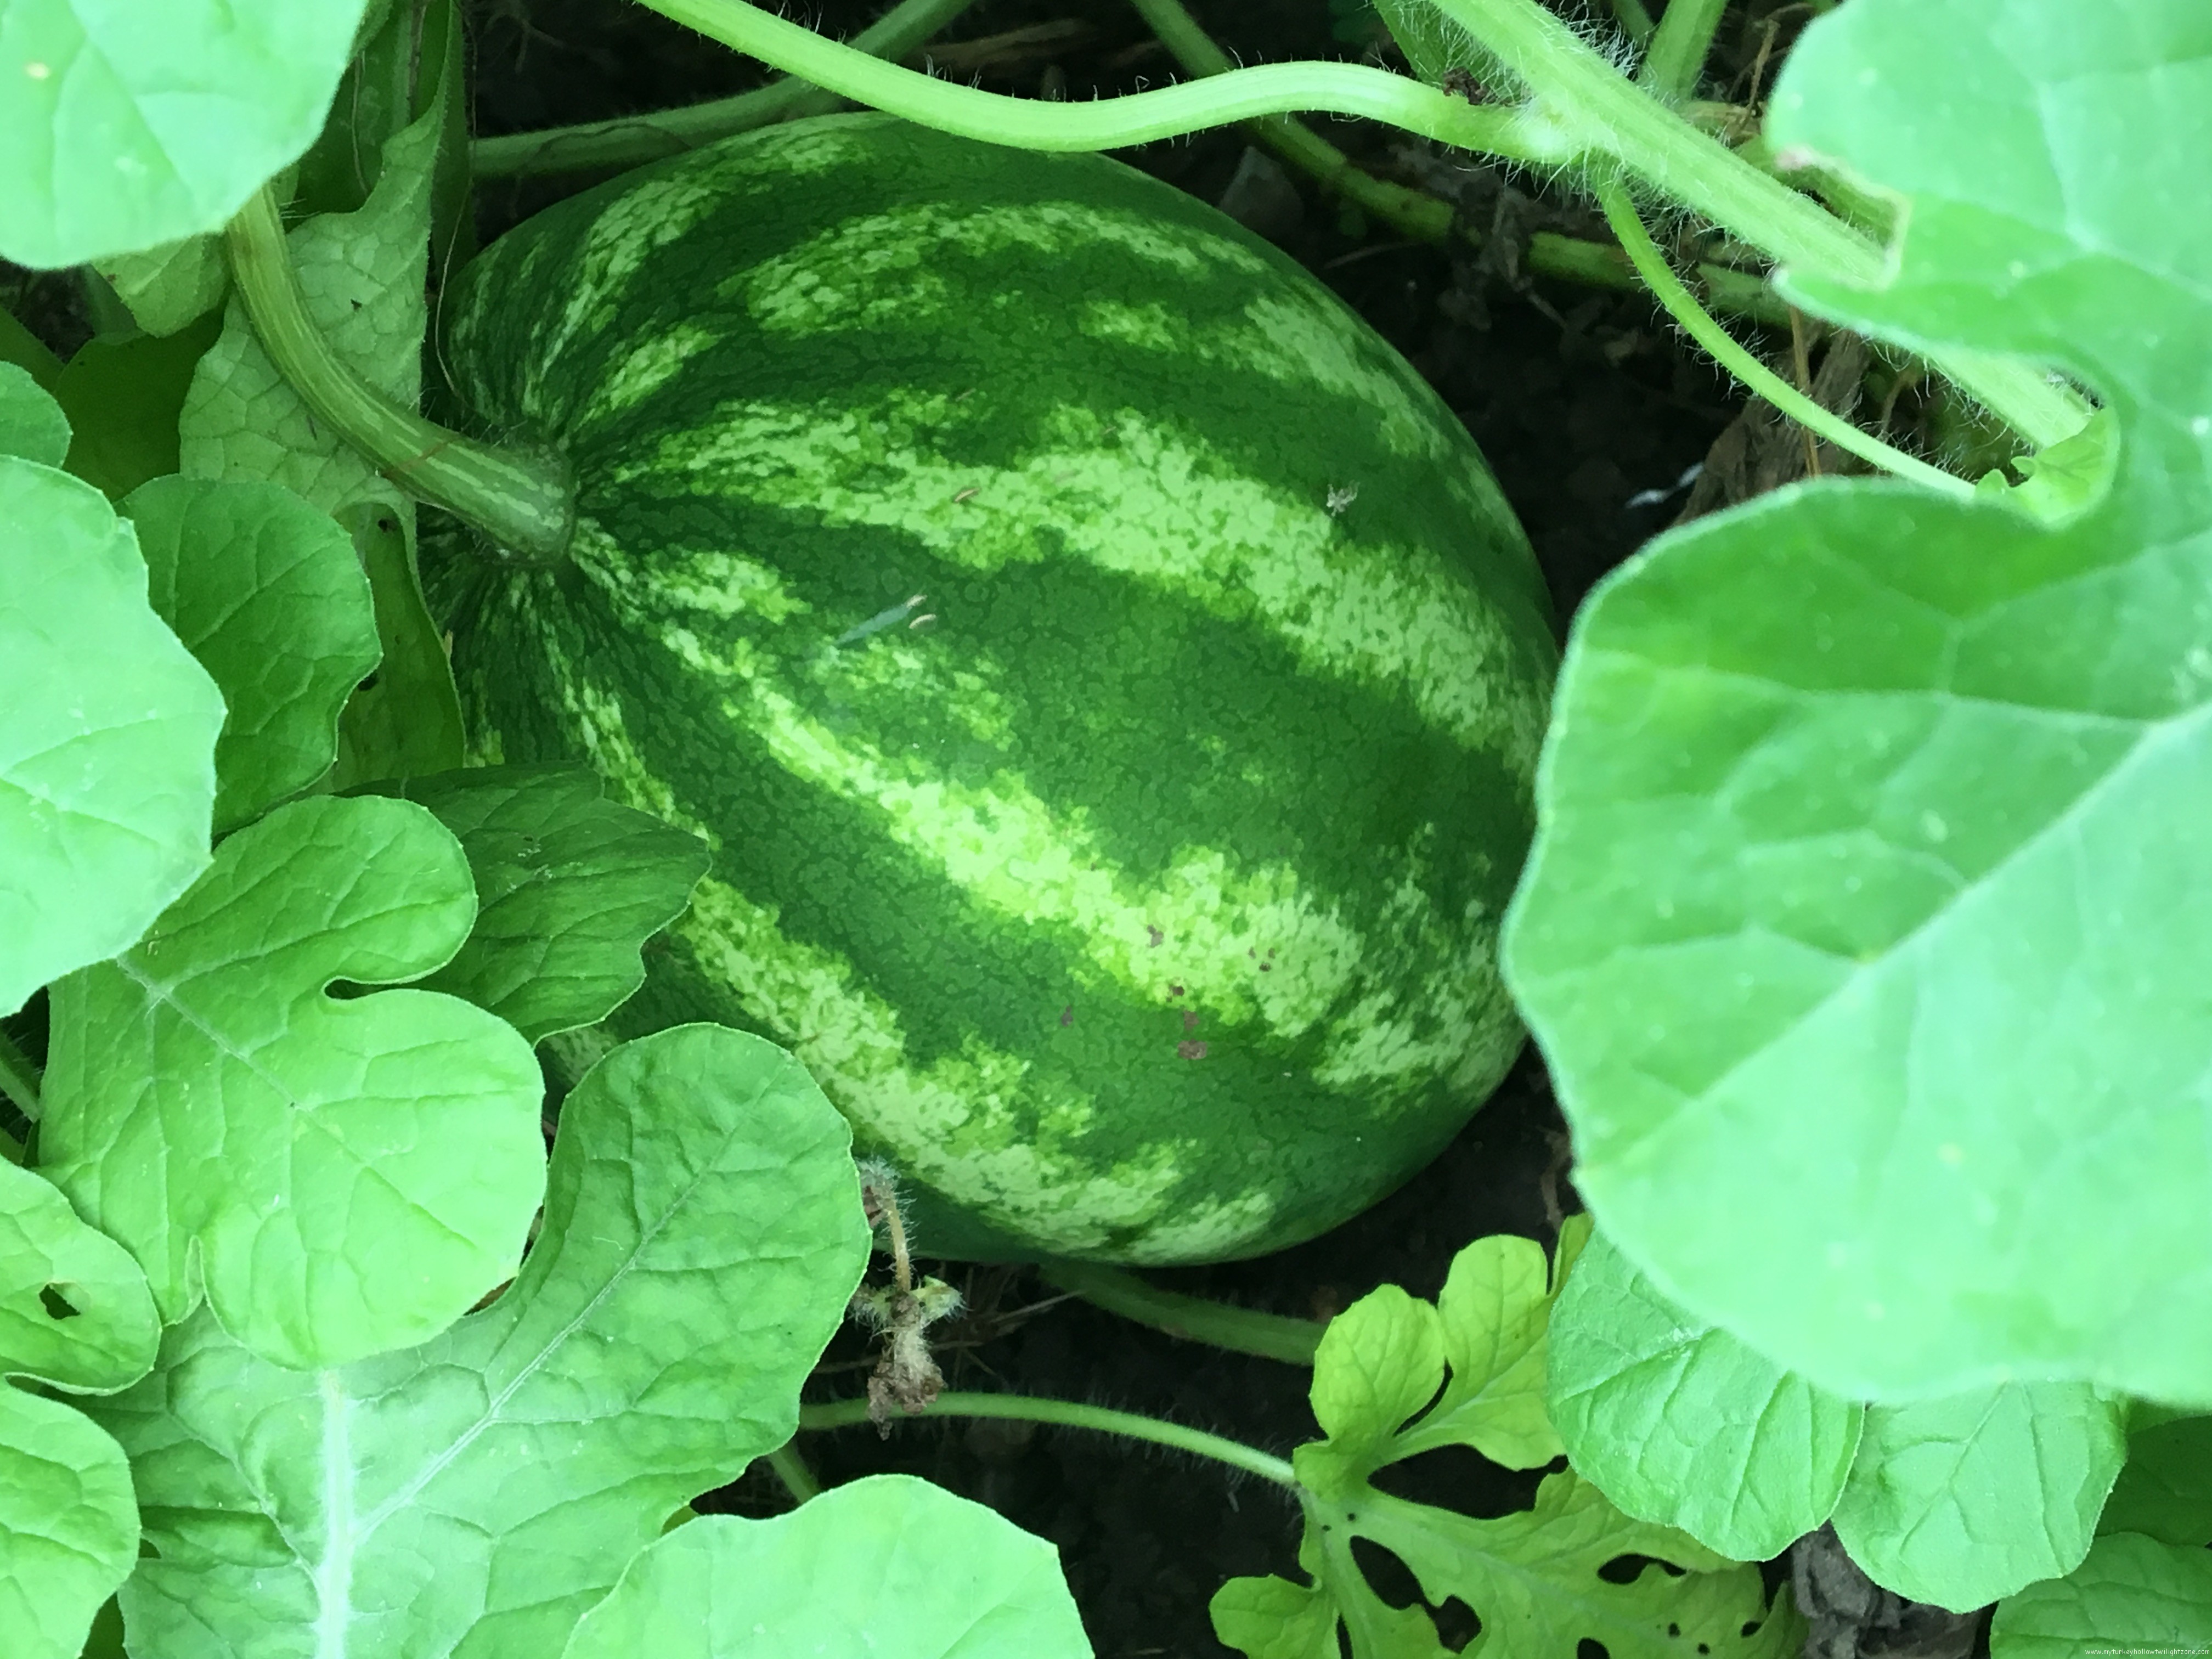
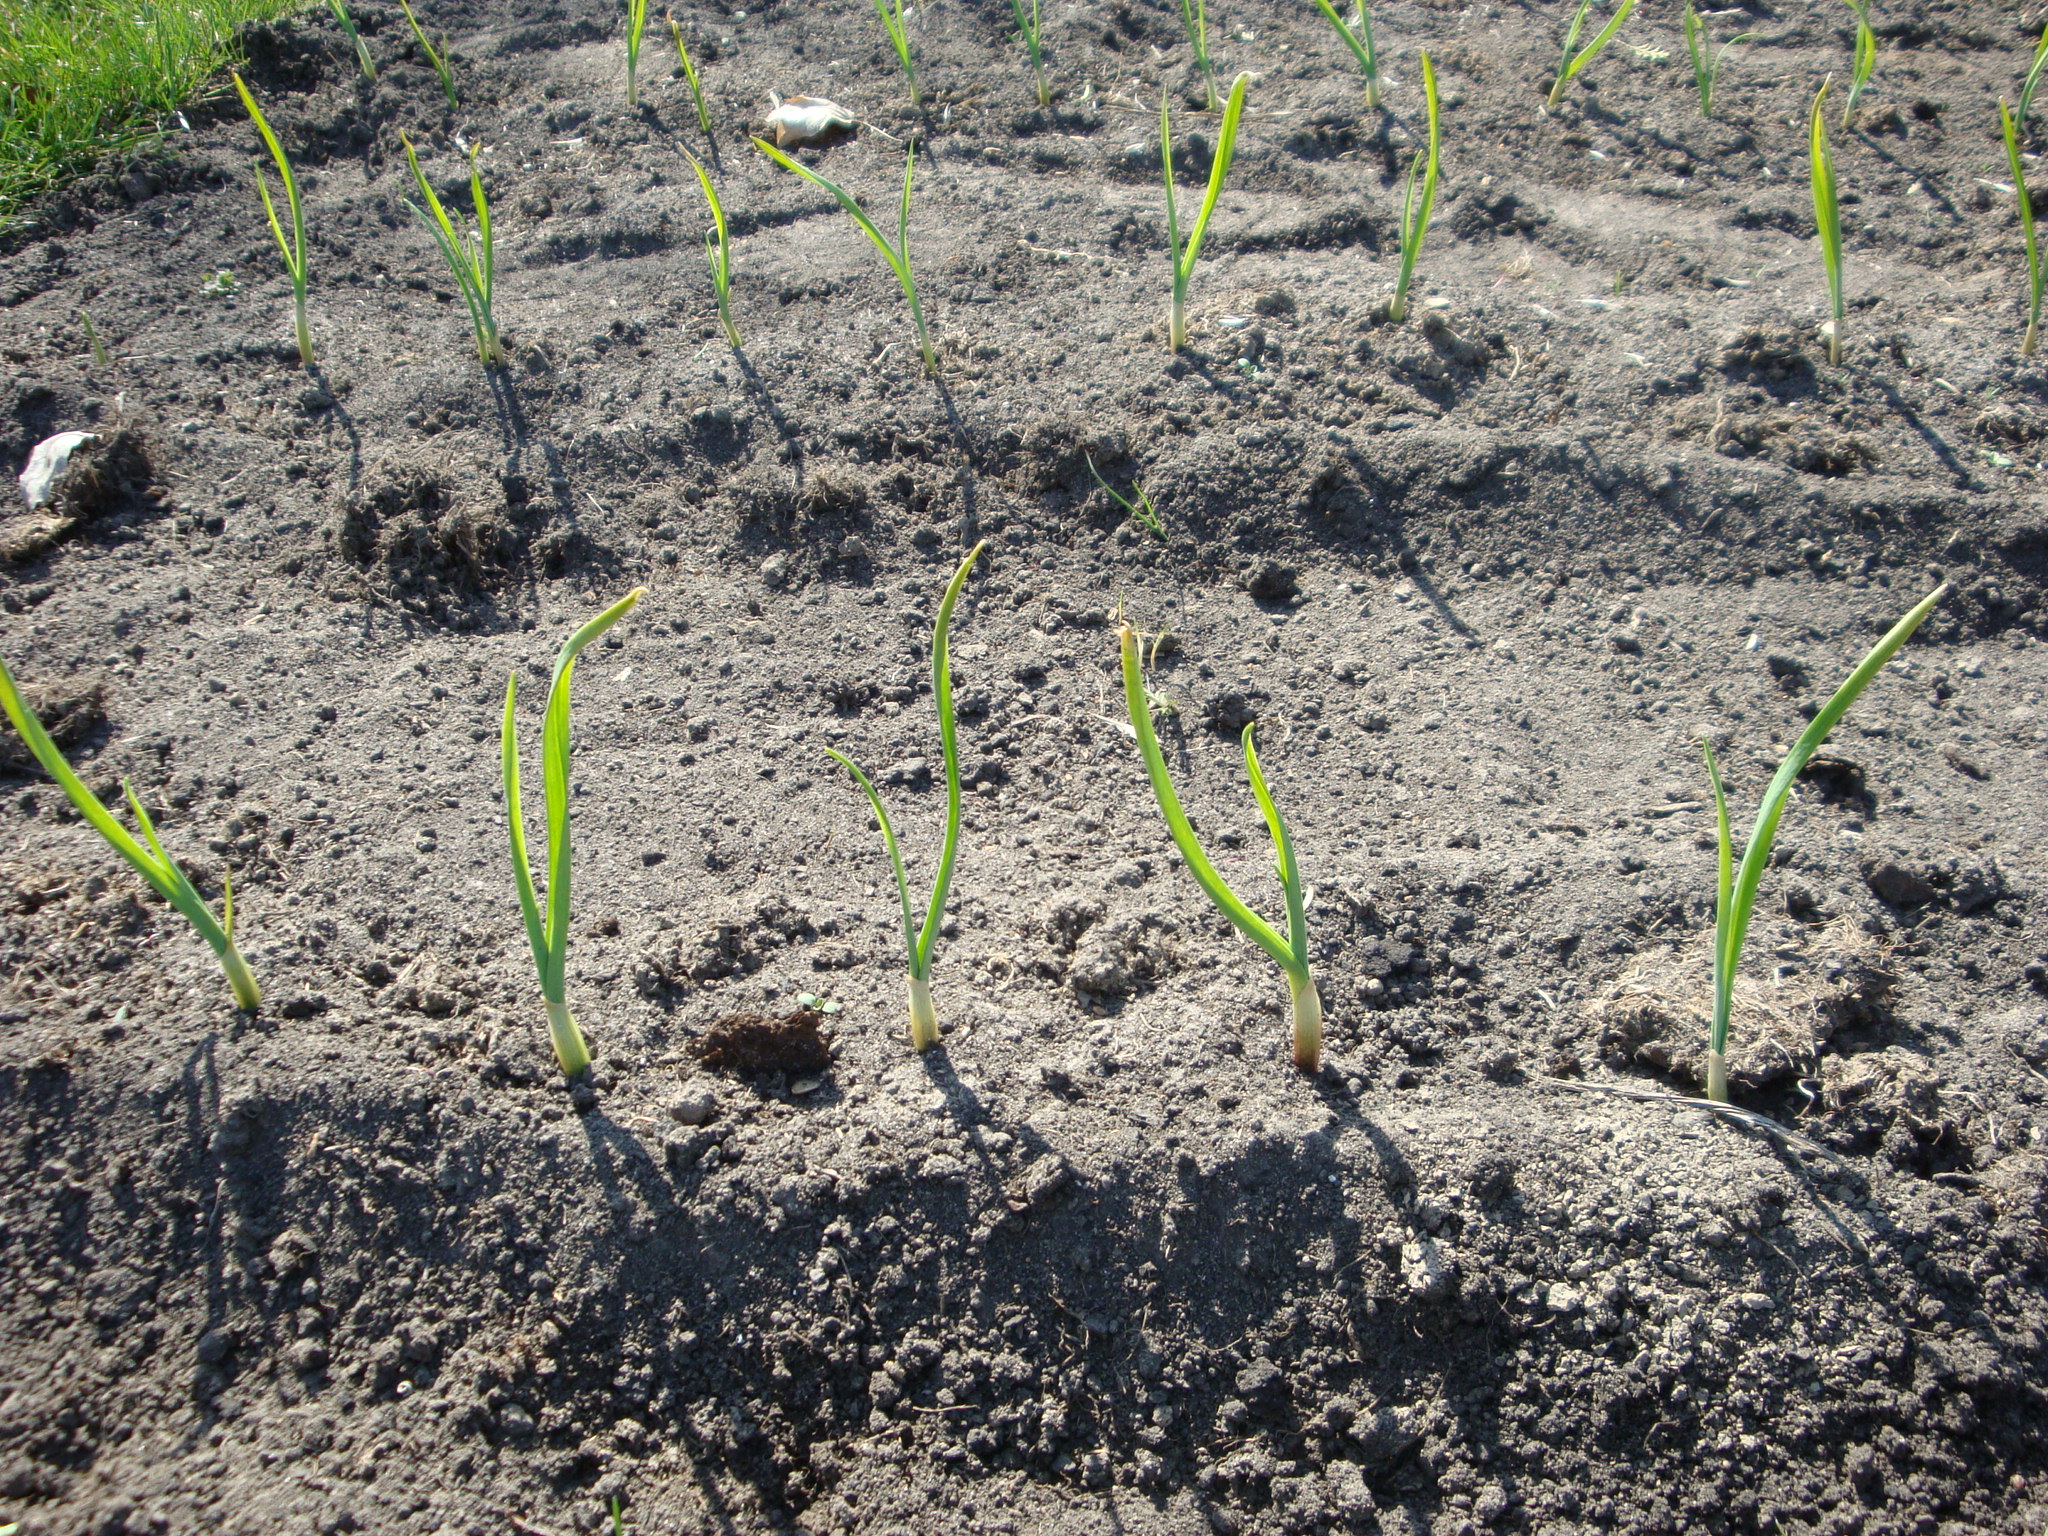
Last fall I planted garlic and it’s already up about 6 inches. Yay! I really love garlic. It makes just about anything that’s savory even better.
Of course we just had snow again on Monday (fortunately it didn’t stick) and temps dipped into the 30’s. So as soon as the weather cooperates, and I have a day off work, I’m ready to go!
“We are a participant in the Amazon Services LLC Associates Program, an affiliate advertising program designed to provide a means for us to earn fees by linking to Amazon.com and affiliated sites.”
© 2014 – 2020, Pamela. All rights reserved.