The tomatoes are coming on fast and the canning bonanza has begun! This is your guide to tomato canning 101!
Canning tomatoes can be a little time consuming but so worth it during the winter to have that home grown freshness in a jar!
Here’s what going on so far . . .
Tomato Canning 101

Who can deny the beauty of a Roma tomato? All things good come from Roma tomatoes . . .
The first part of the canning process involves peeling and seeding.
This is actually the most tedious part of the whole process. Not hard . . . just tedious.
Fill a large stock pot about two thirds full of water . . .
Bring it to a boil . . .
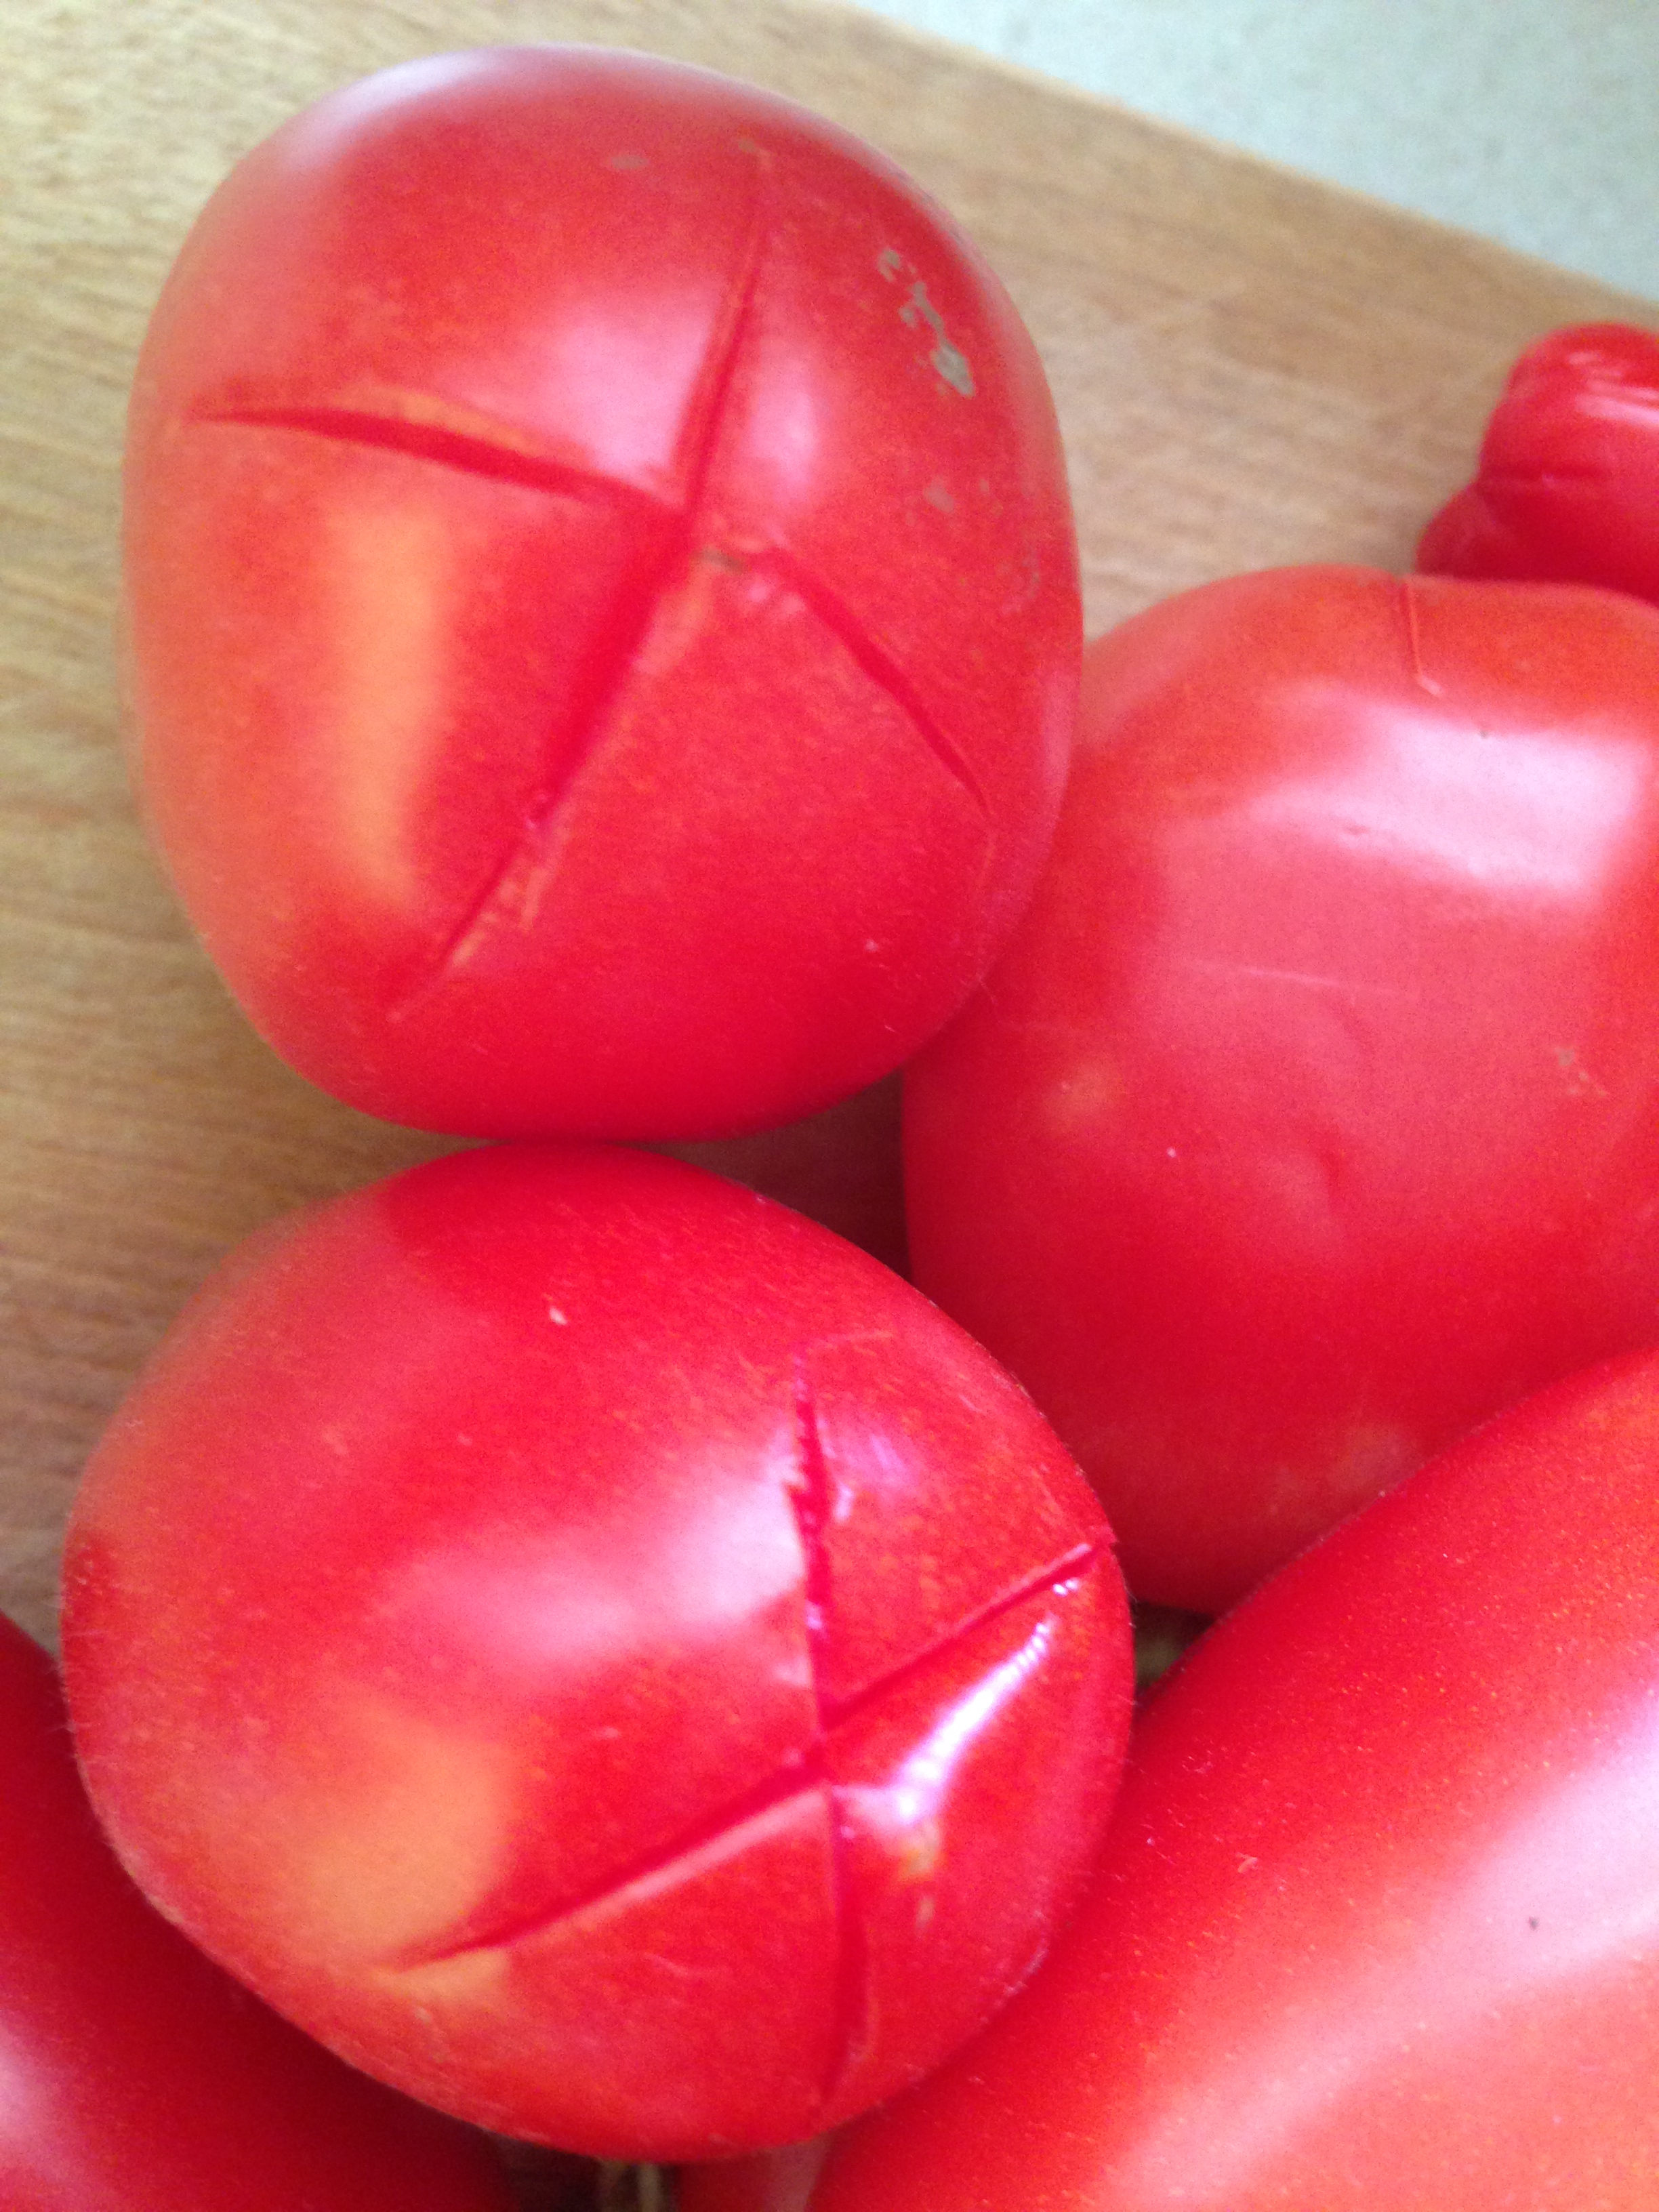
While the water is heating, make a criss cross in the blossom end of each tomato . . .
When the water is boiling hot, carefully place tomatoes in the water in batches for just 30 seconds to a minute or so. . .

then take them out . . .
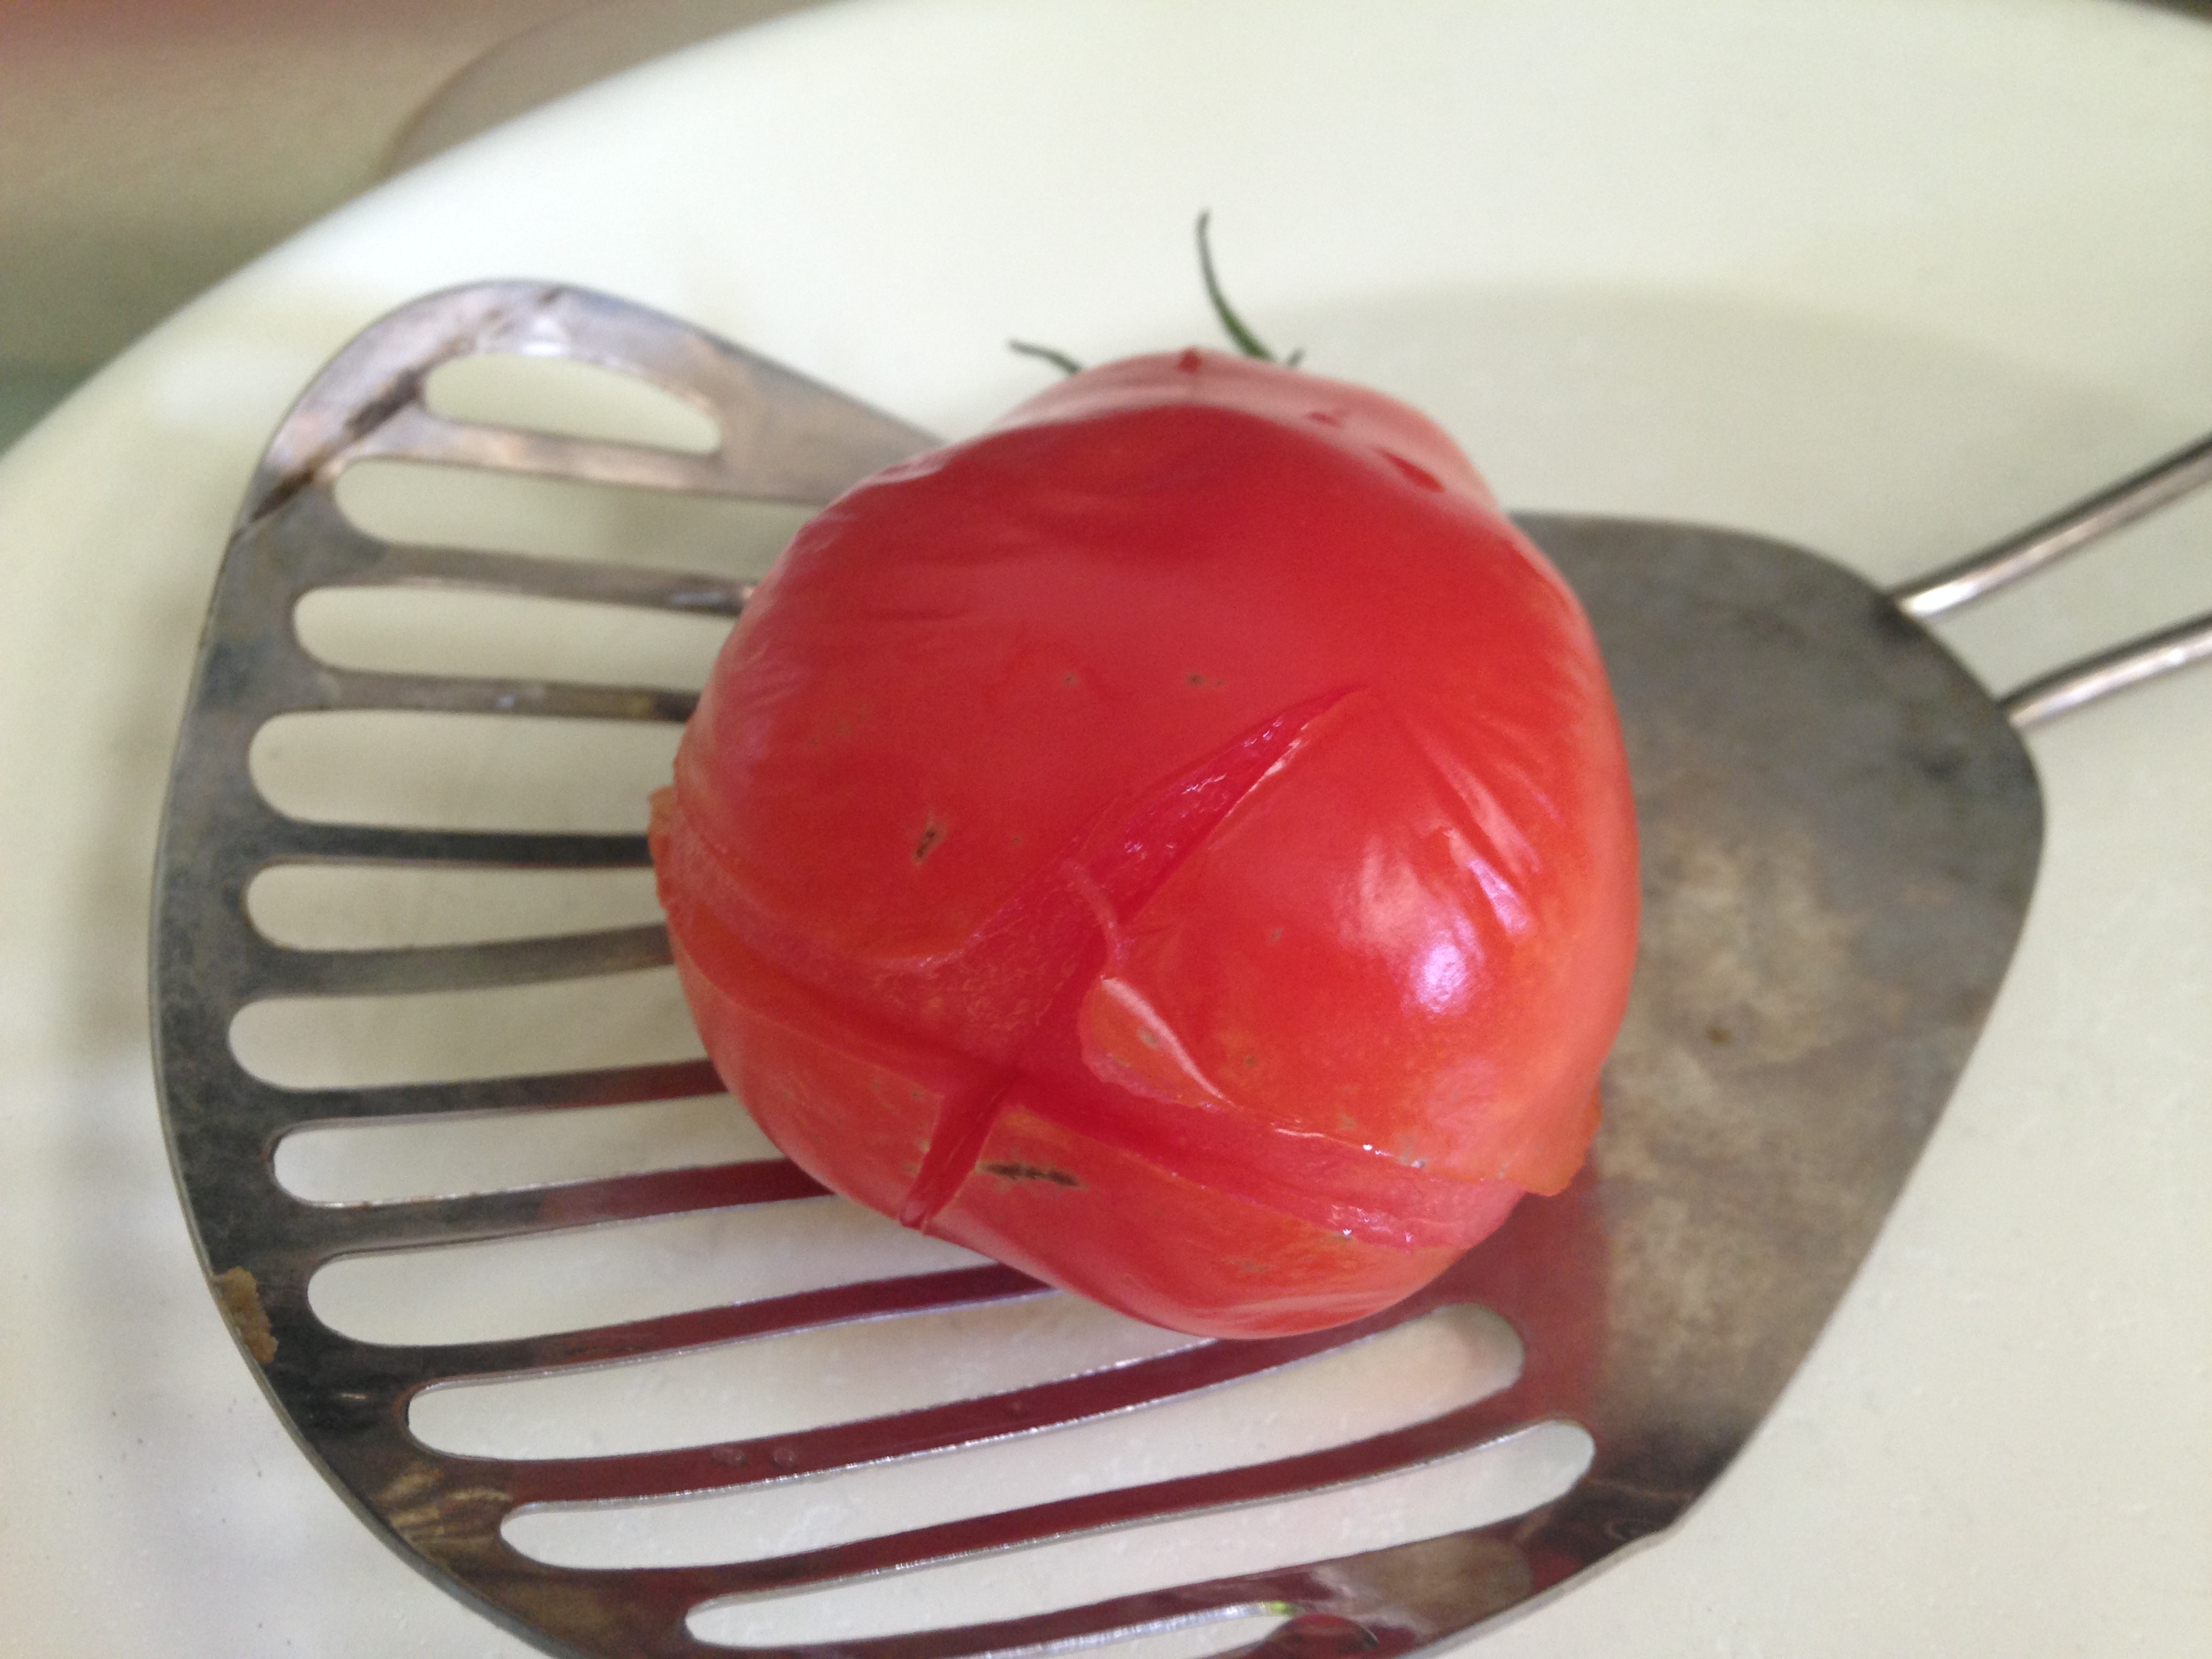
and place them directly into a sink full of ice water to cool and stop the heating process . . .
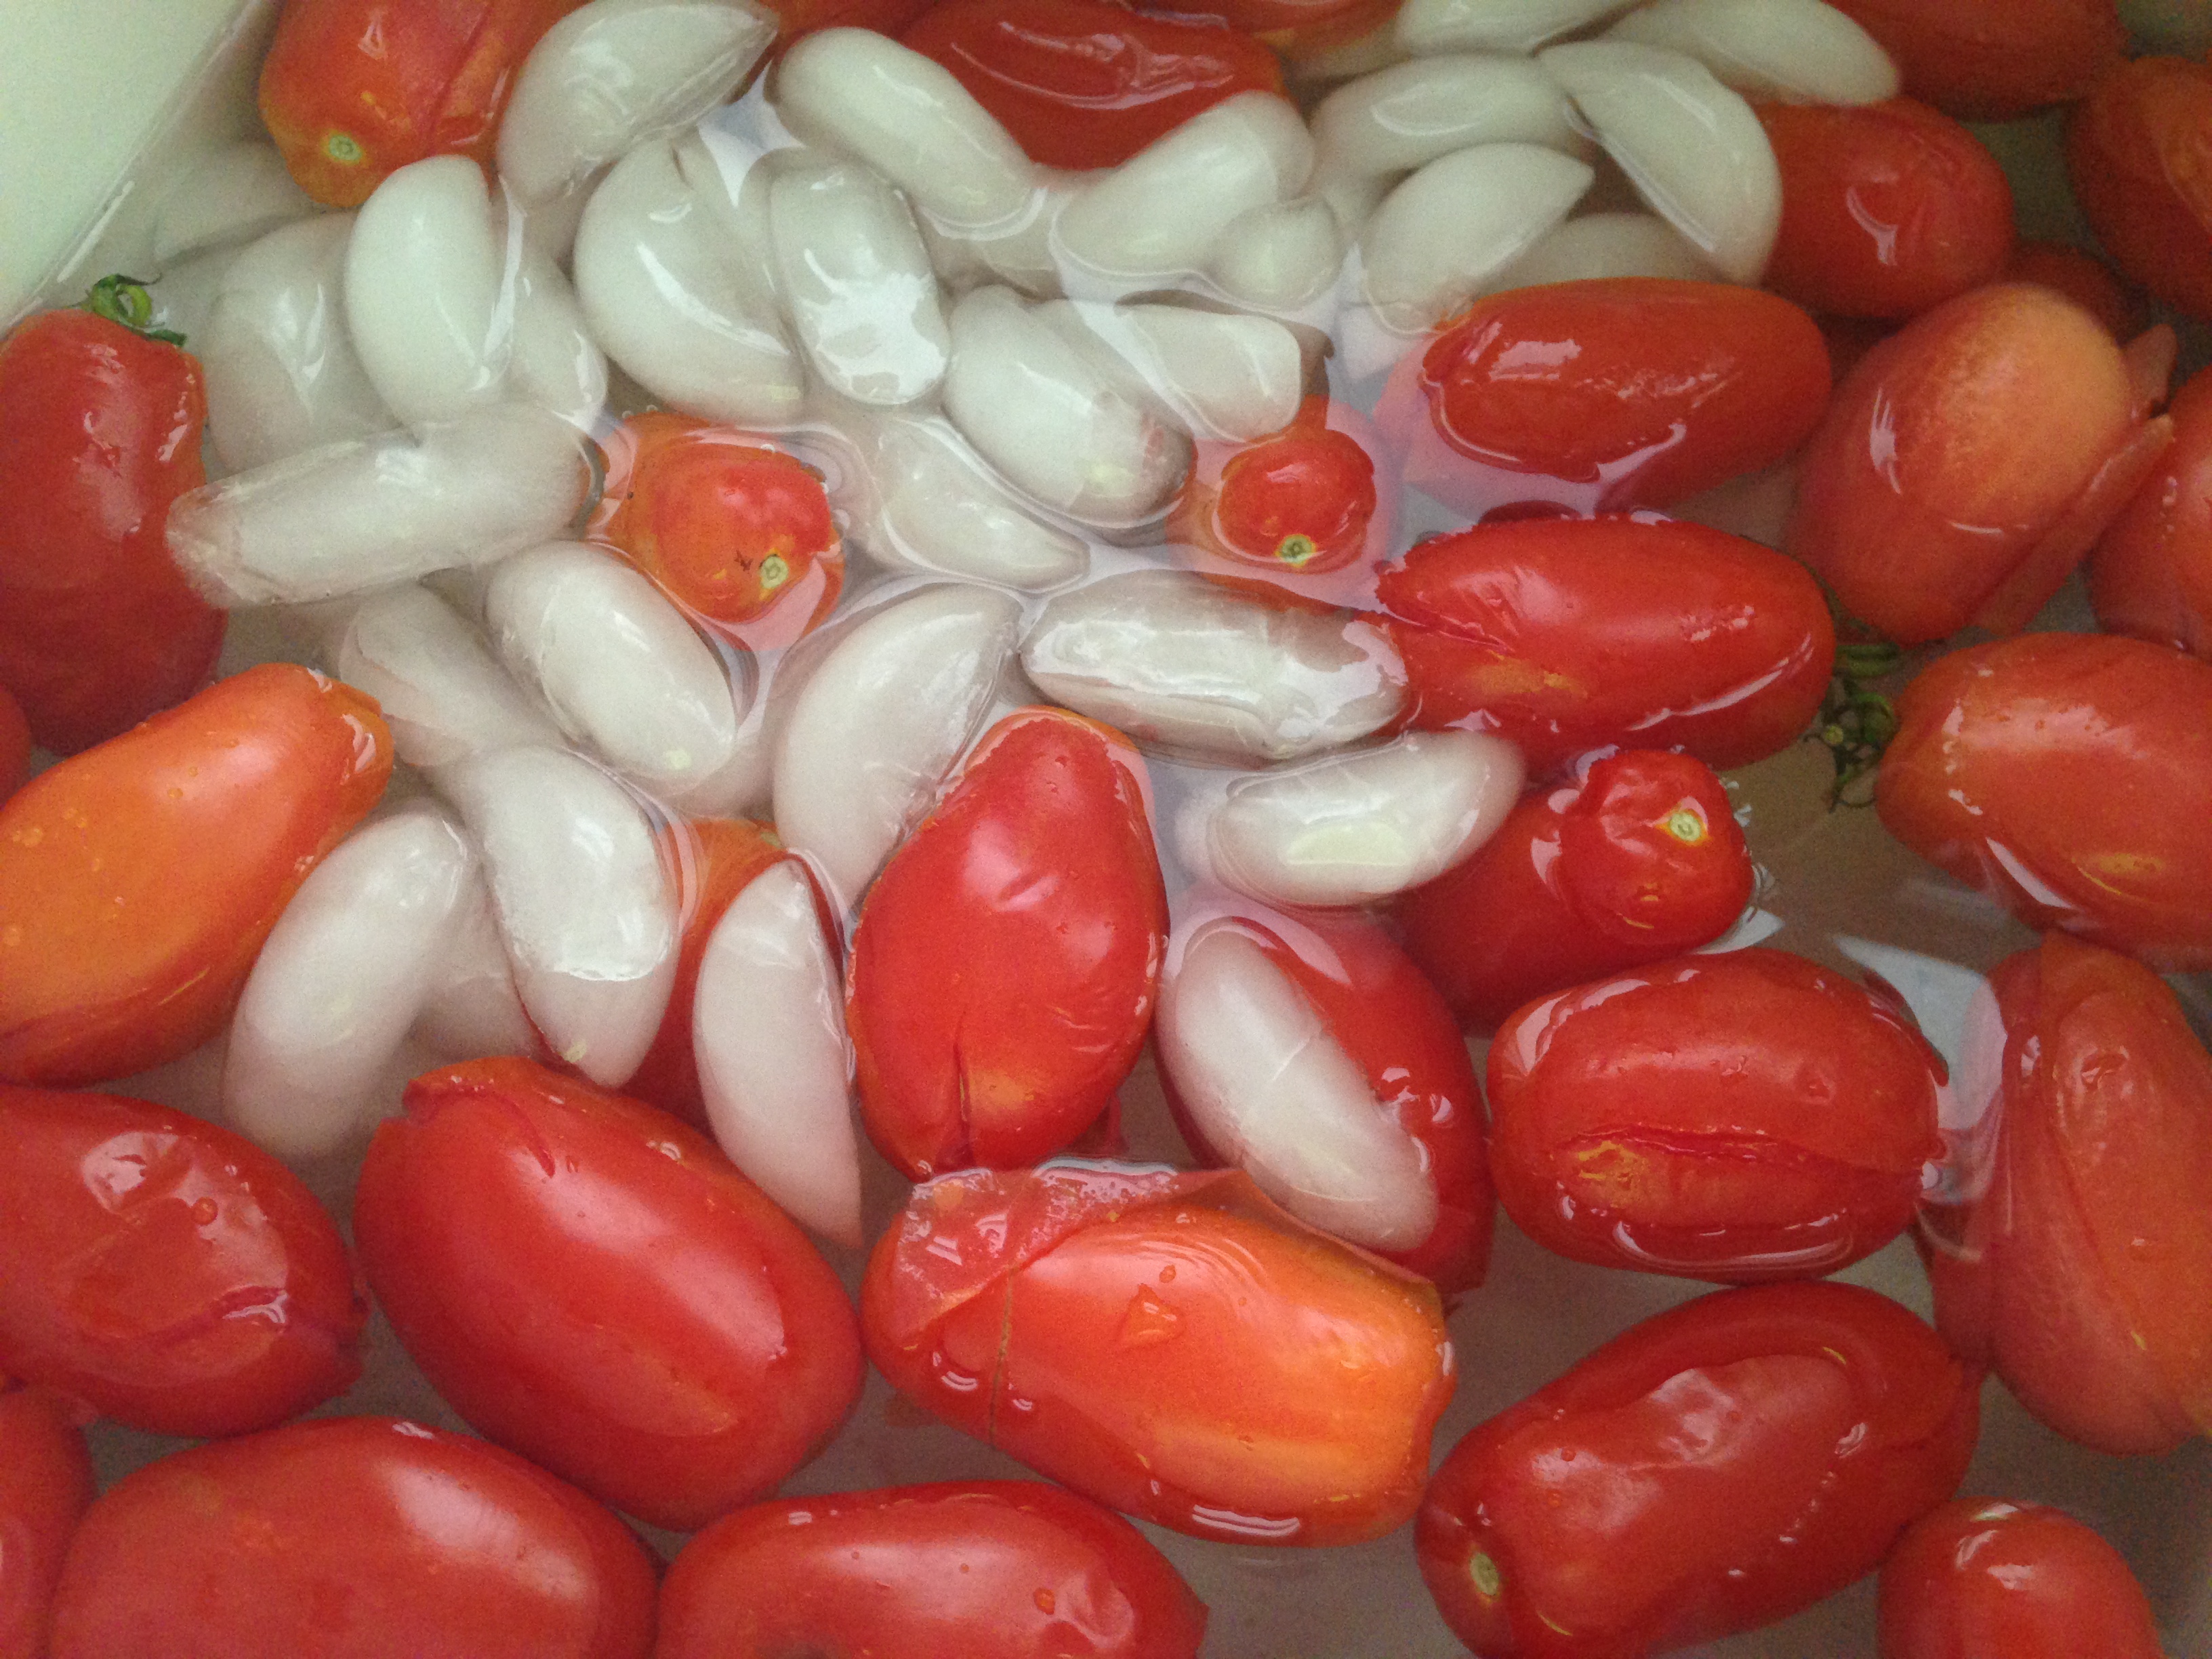
The skin will practically fall off if you pinch one end of the tomato with your fingers . . .

Ok . . . all skinned. Now on to the seeding.
cut the tomato in half
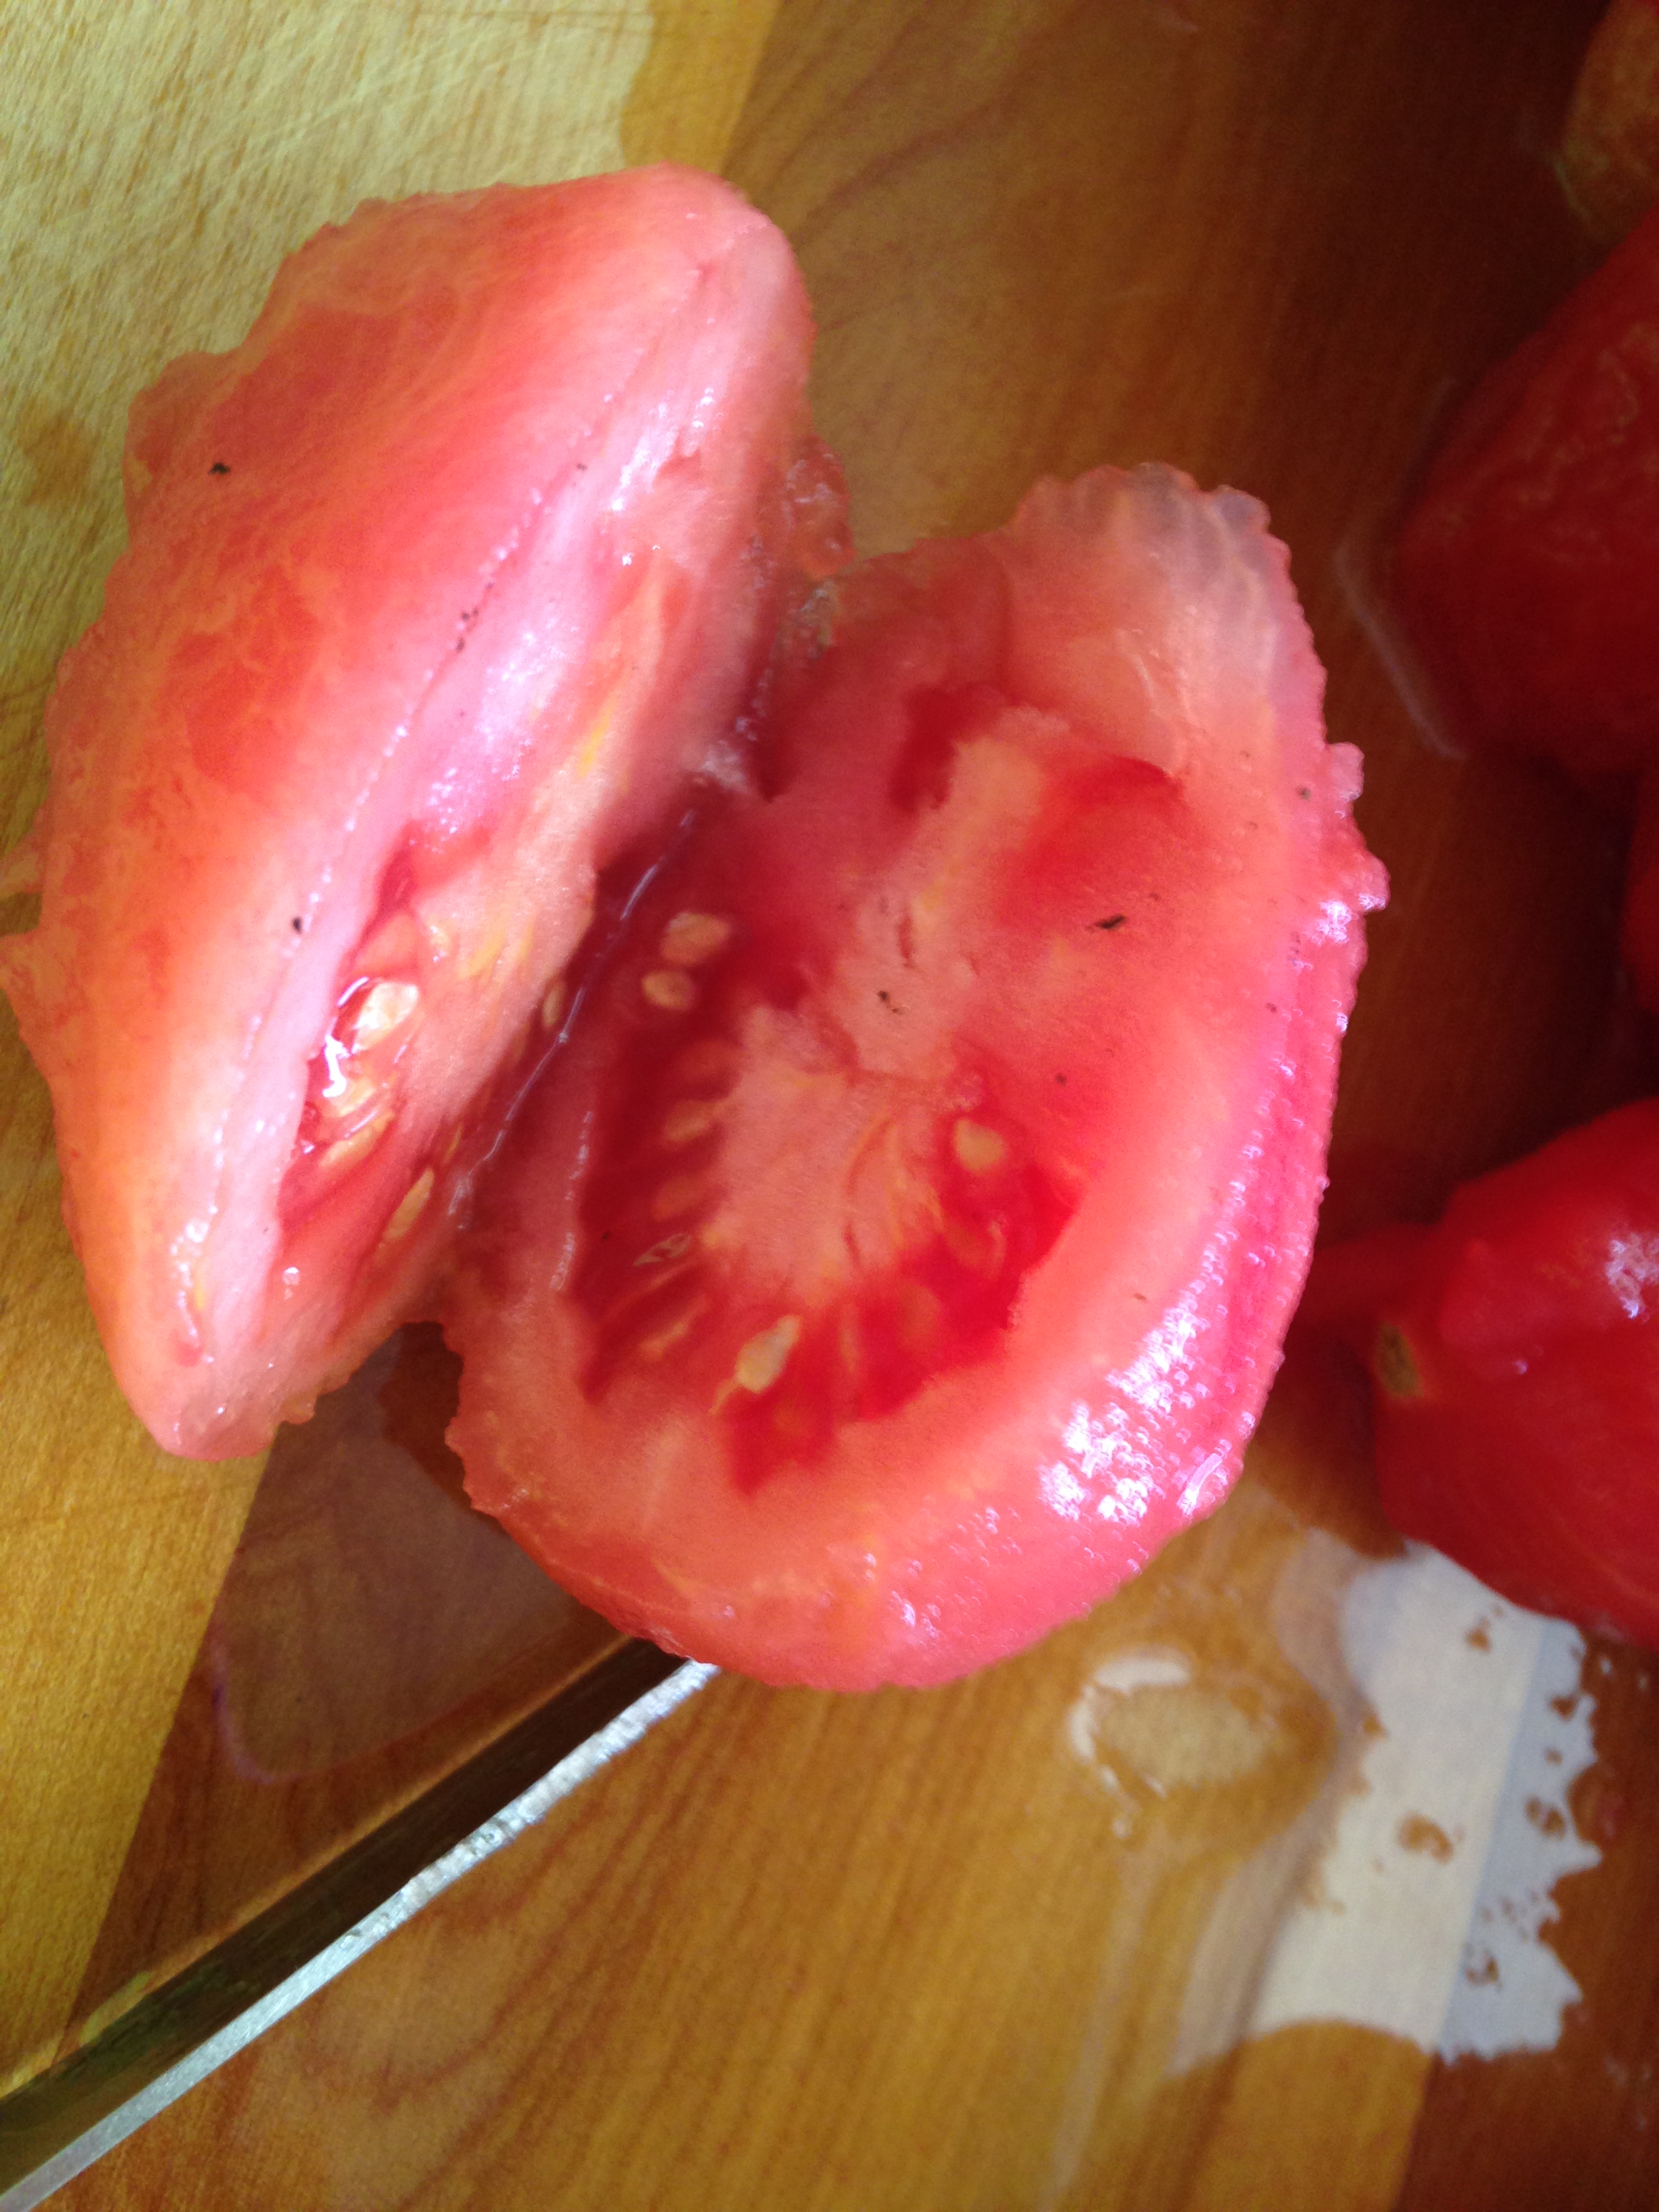
and swipe out the seeds with your fingers.
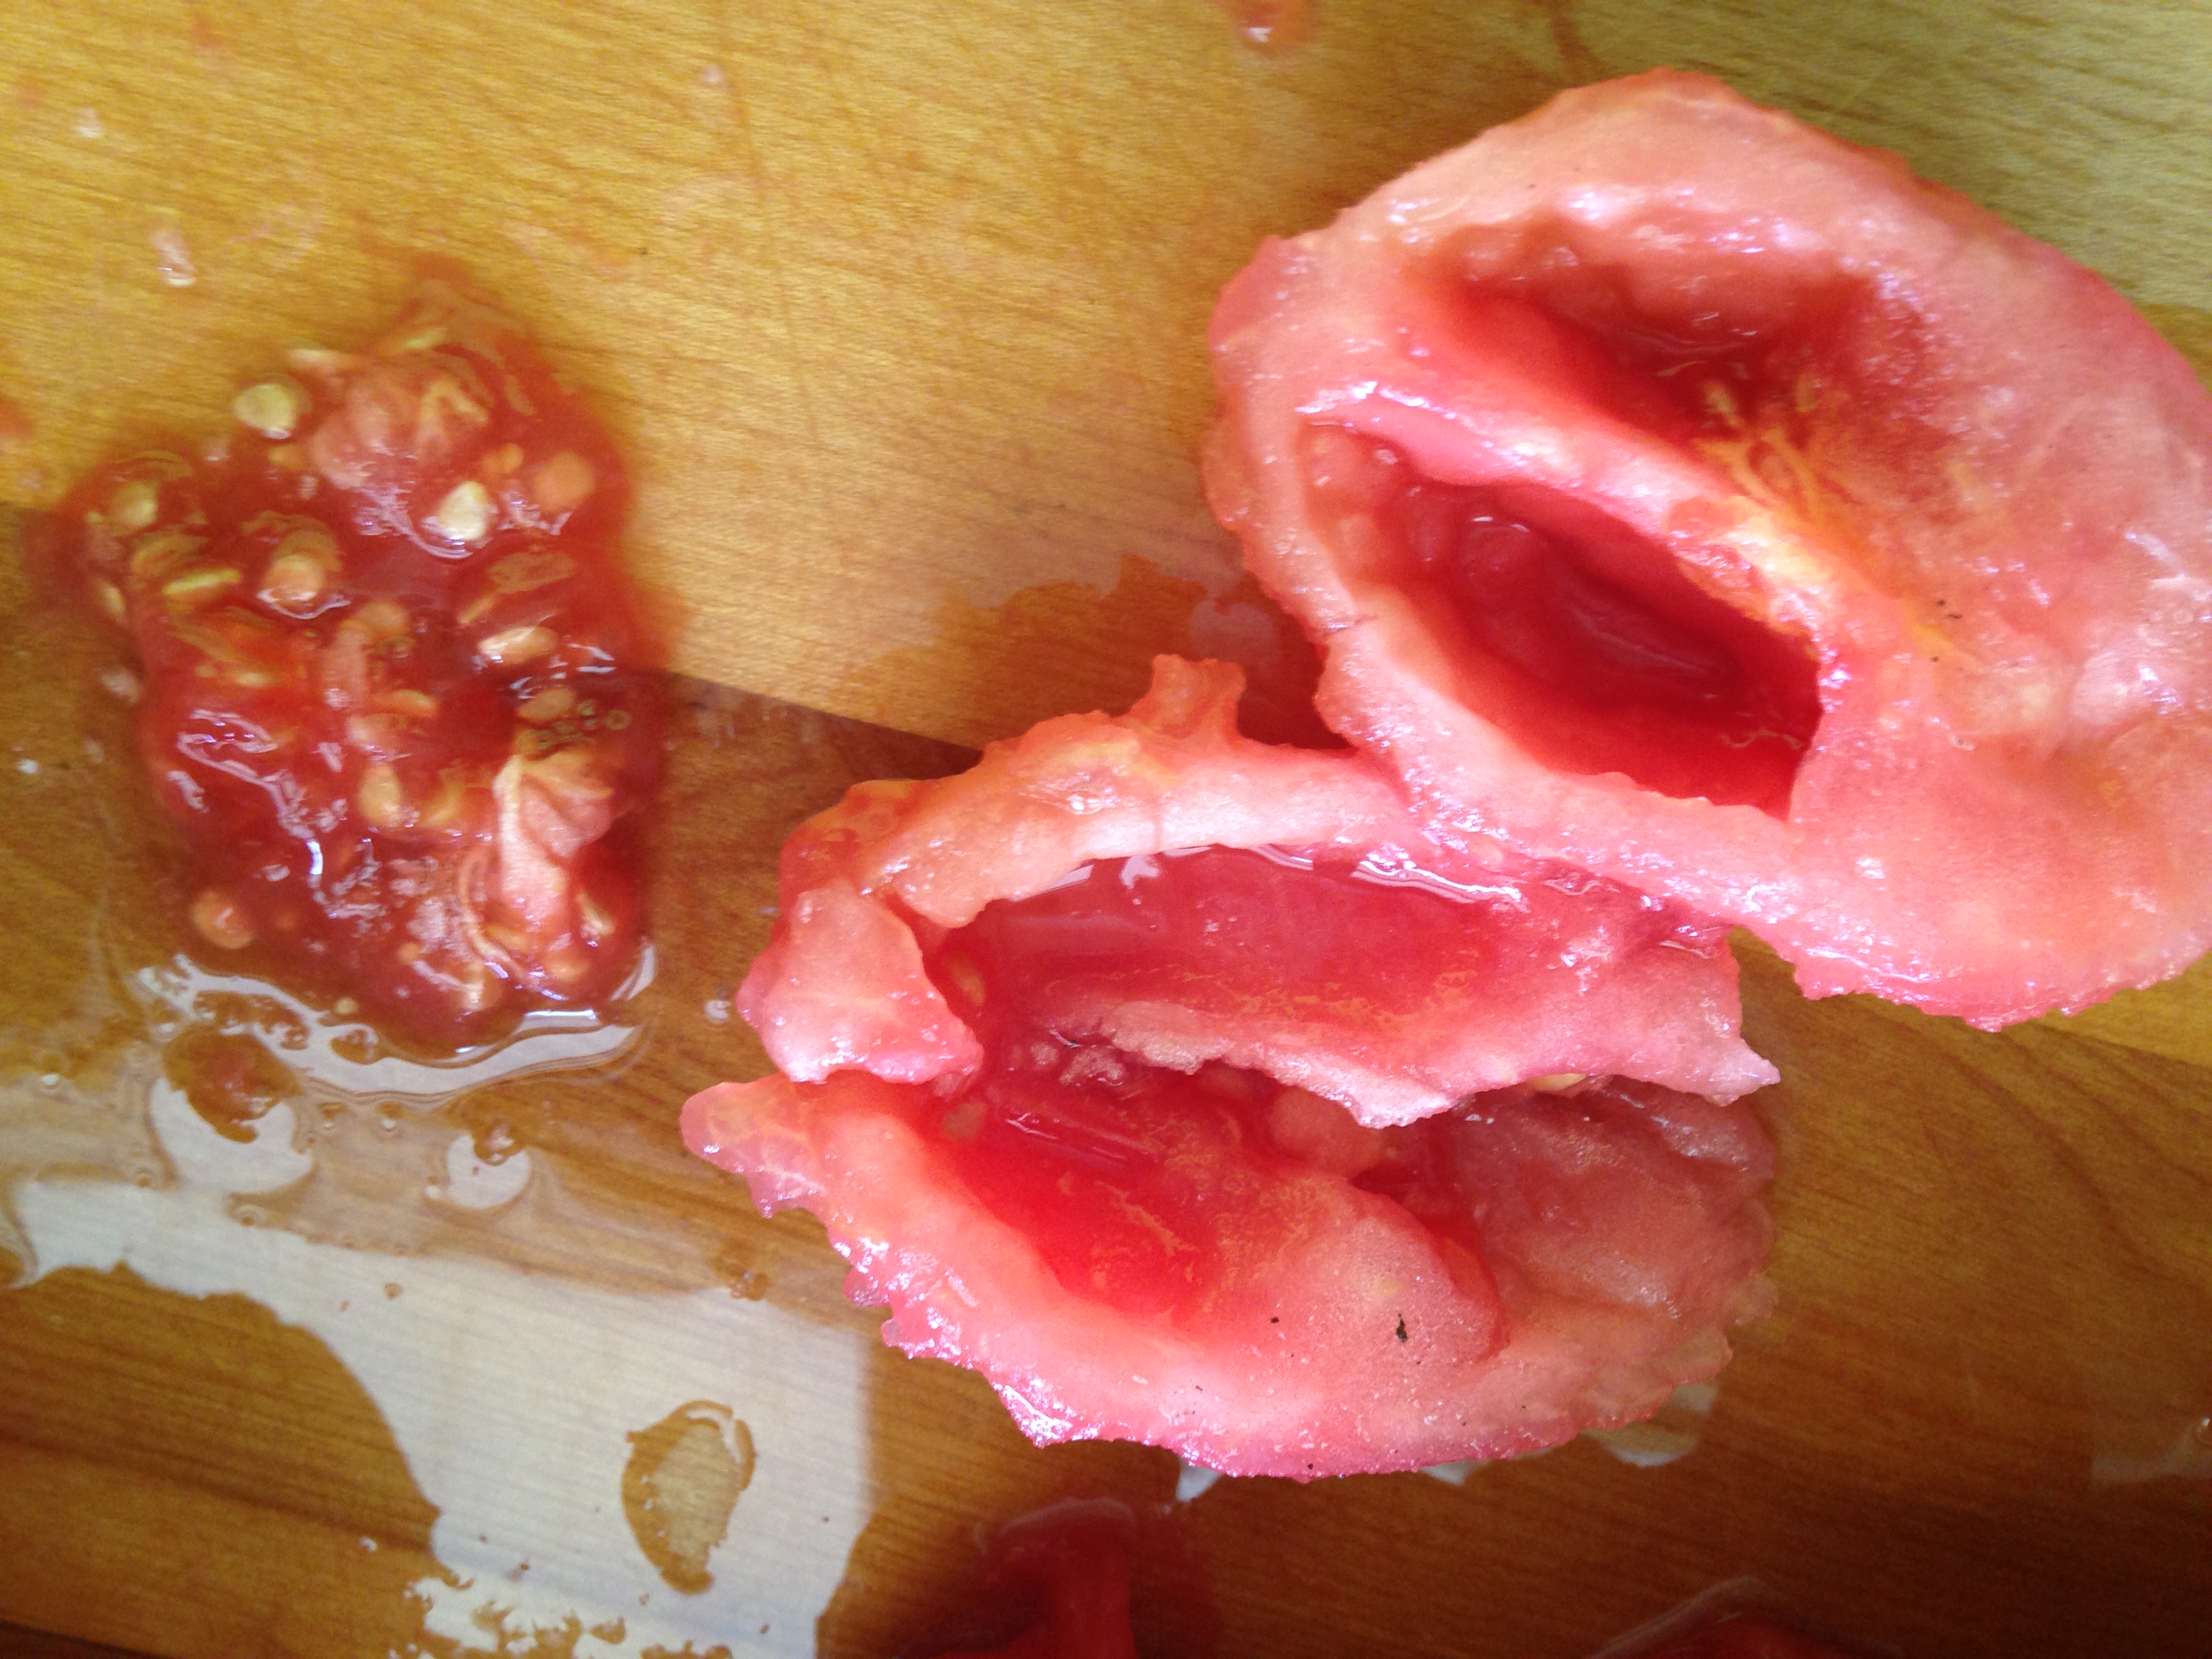
You don’t have to be fanatical about it. In fact, some people don’t seed them at all.
I just don’t want to look at an enormous amount of seeds in my food when I use the tomatoes.
But really? Eating a tomato seed never killed anyone.
As I seed them I toss them in a colander to drain excess water . . . again . . . not mandatory . . . just something I do.
Then I empty the water out of the stock pot and toss in the tomatoes. . .
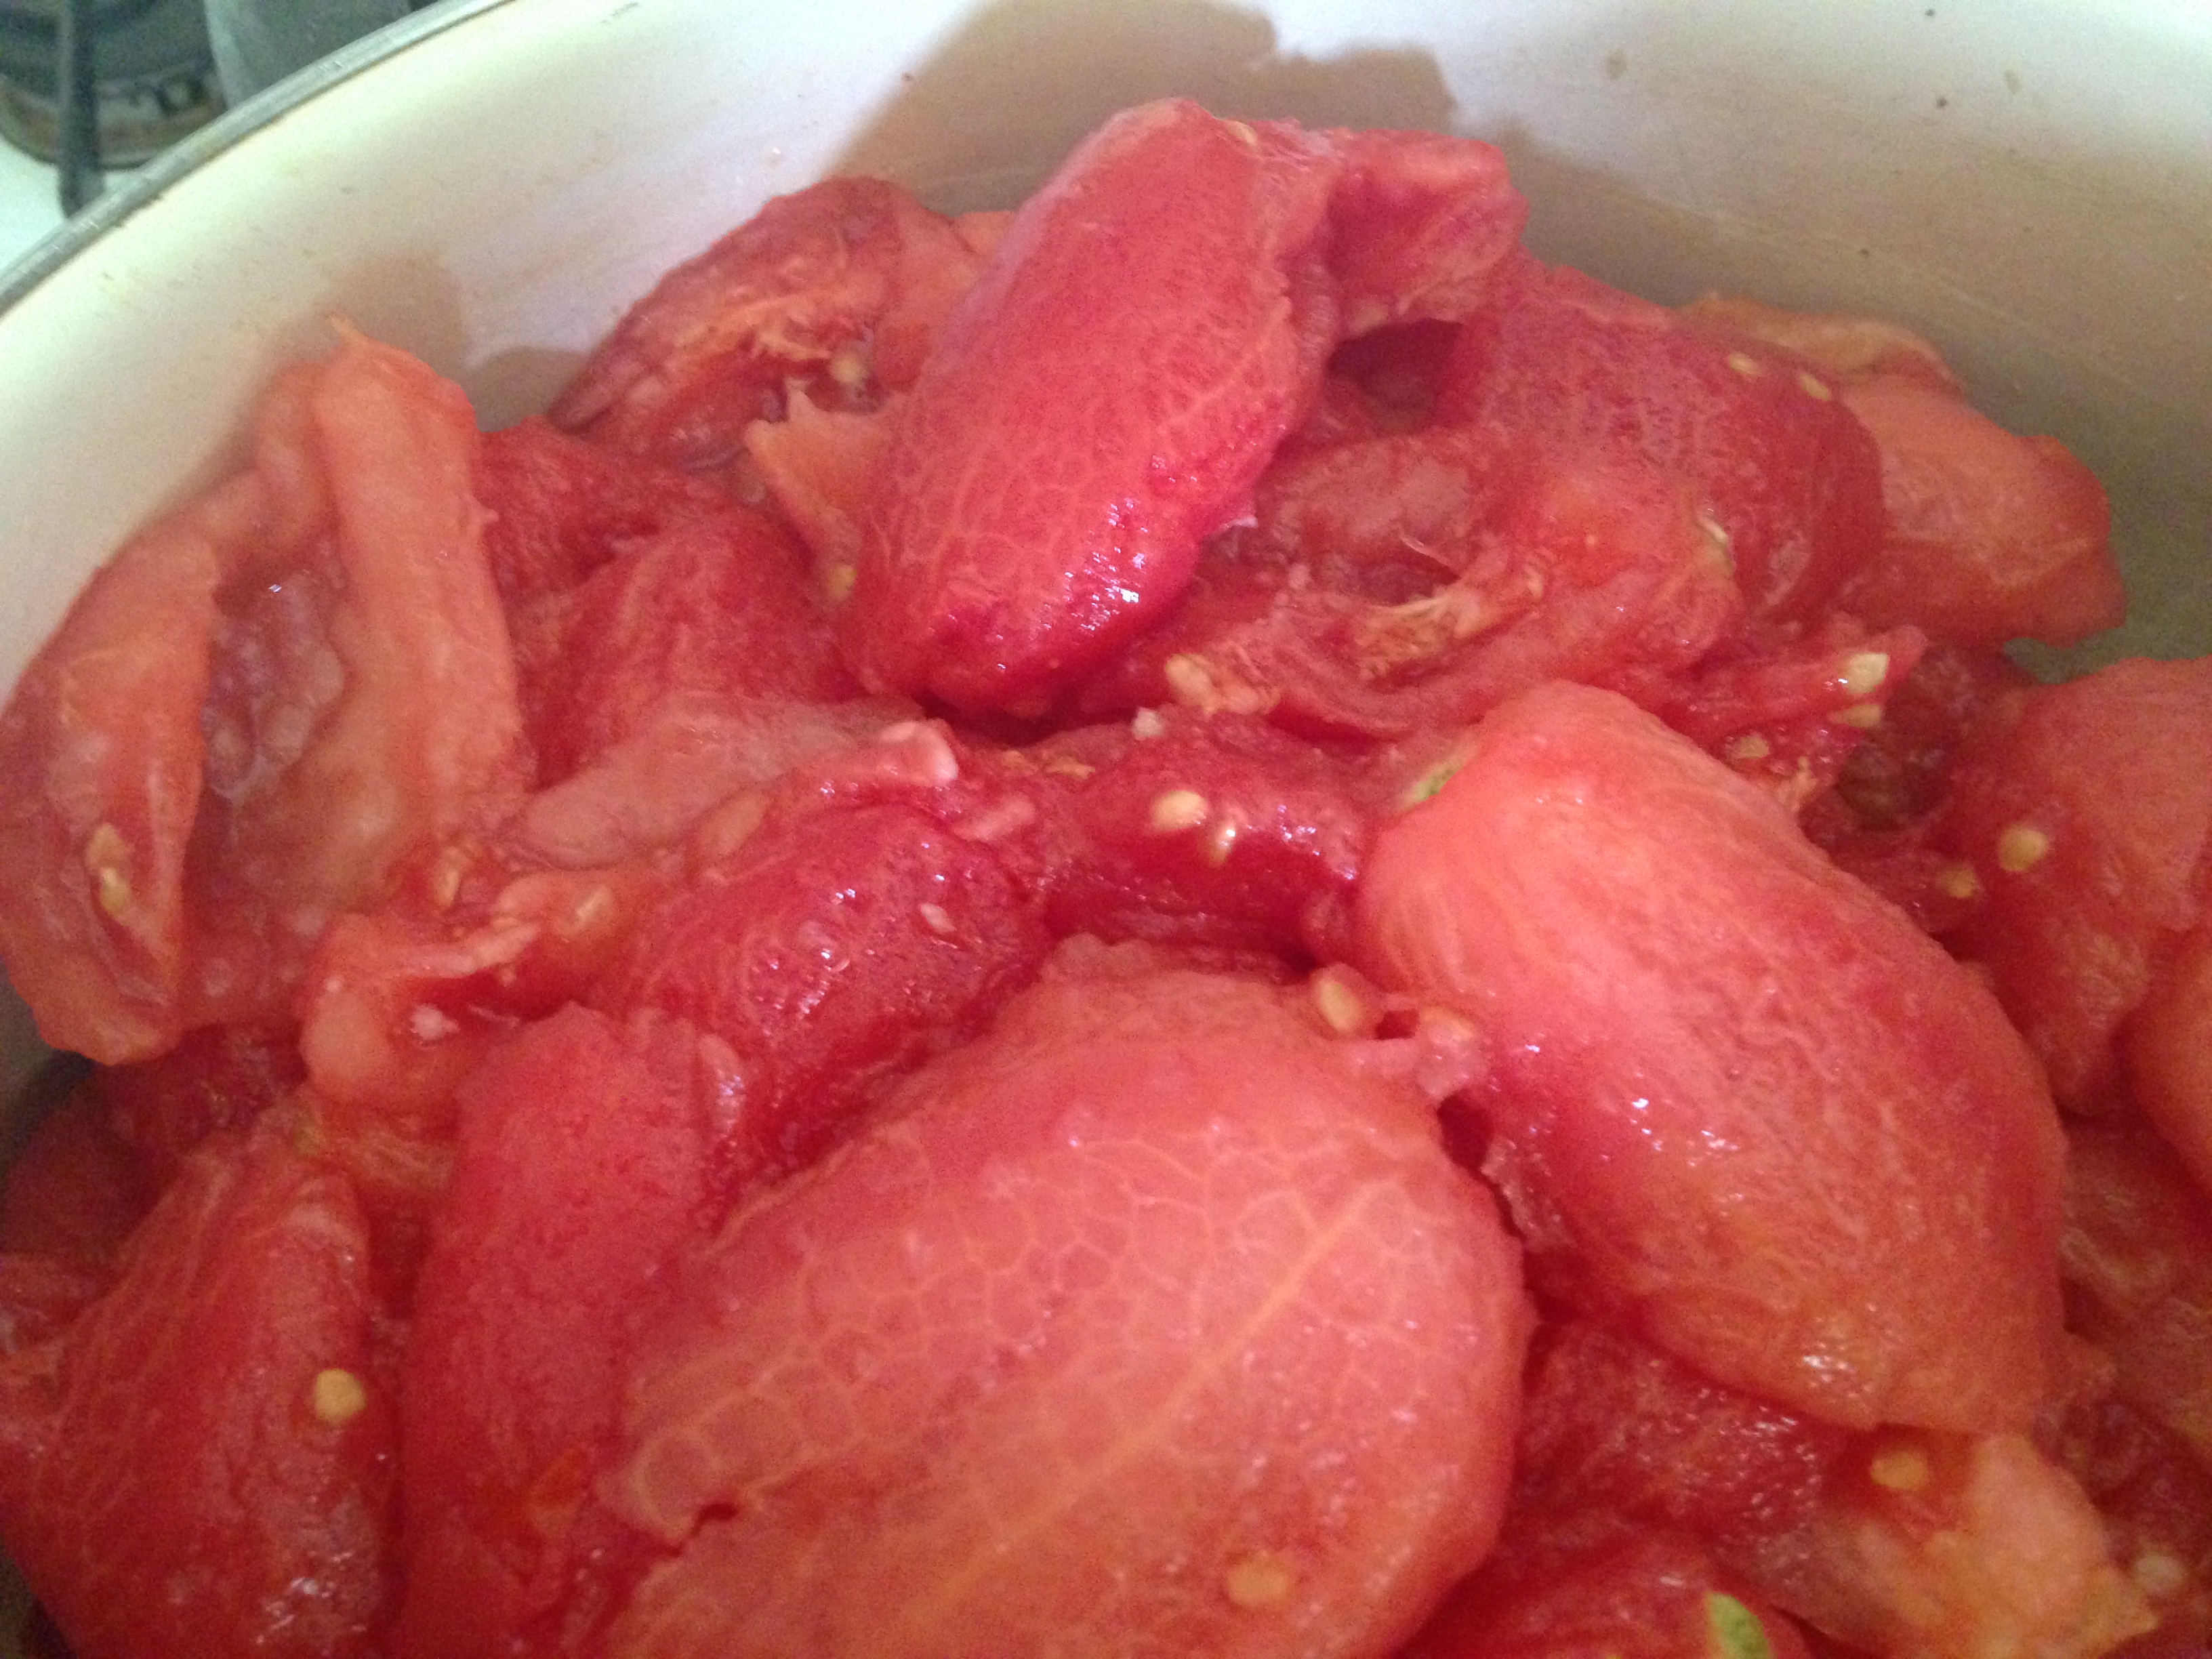
Just bring them to a boil
Add 1 tsp lemon juice and 1/2 tsp salt to each quart jar or 1/2 tsp lemon juice and 1/4 tsp salt to pint jars.
Ladle tomatoes into sterilized warm jars . . .
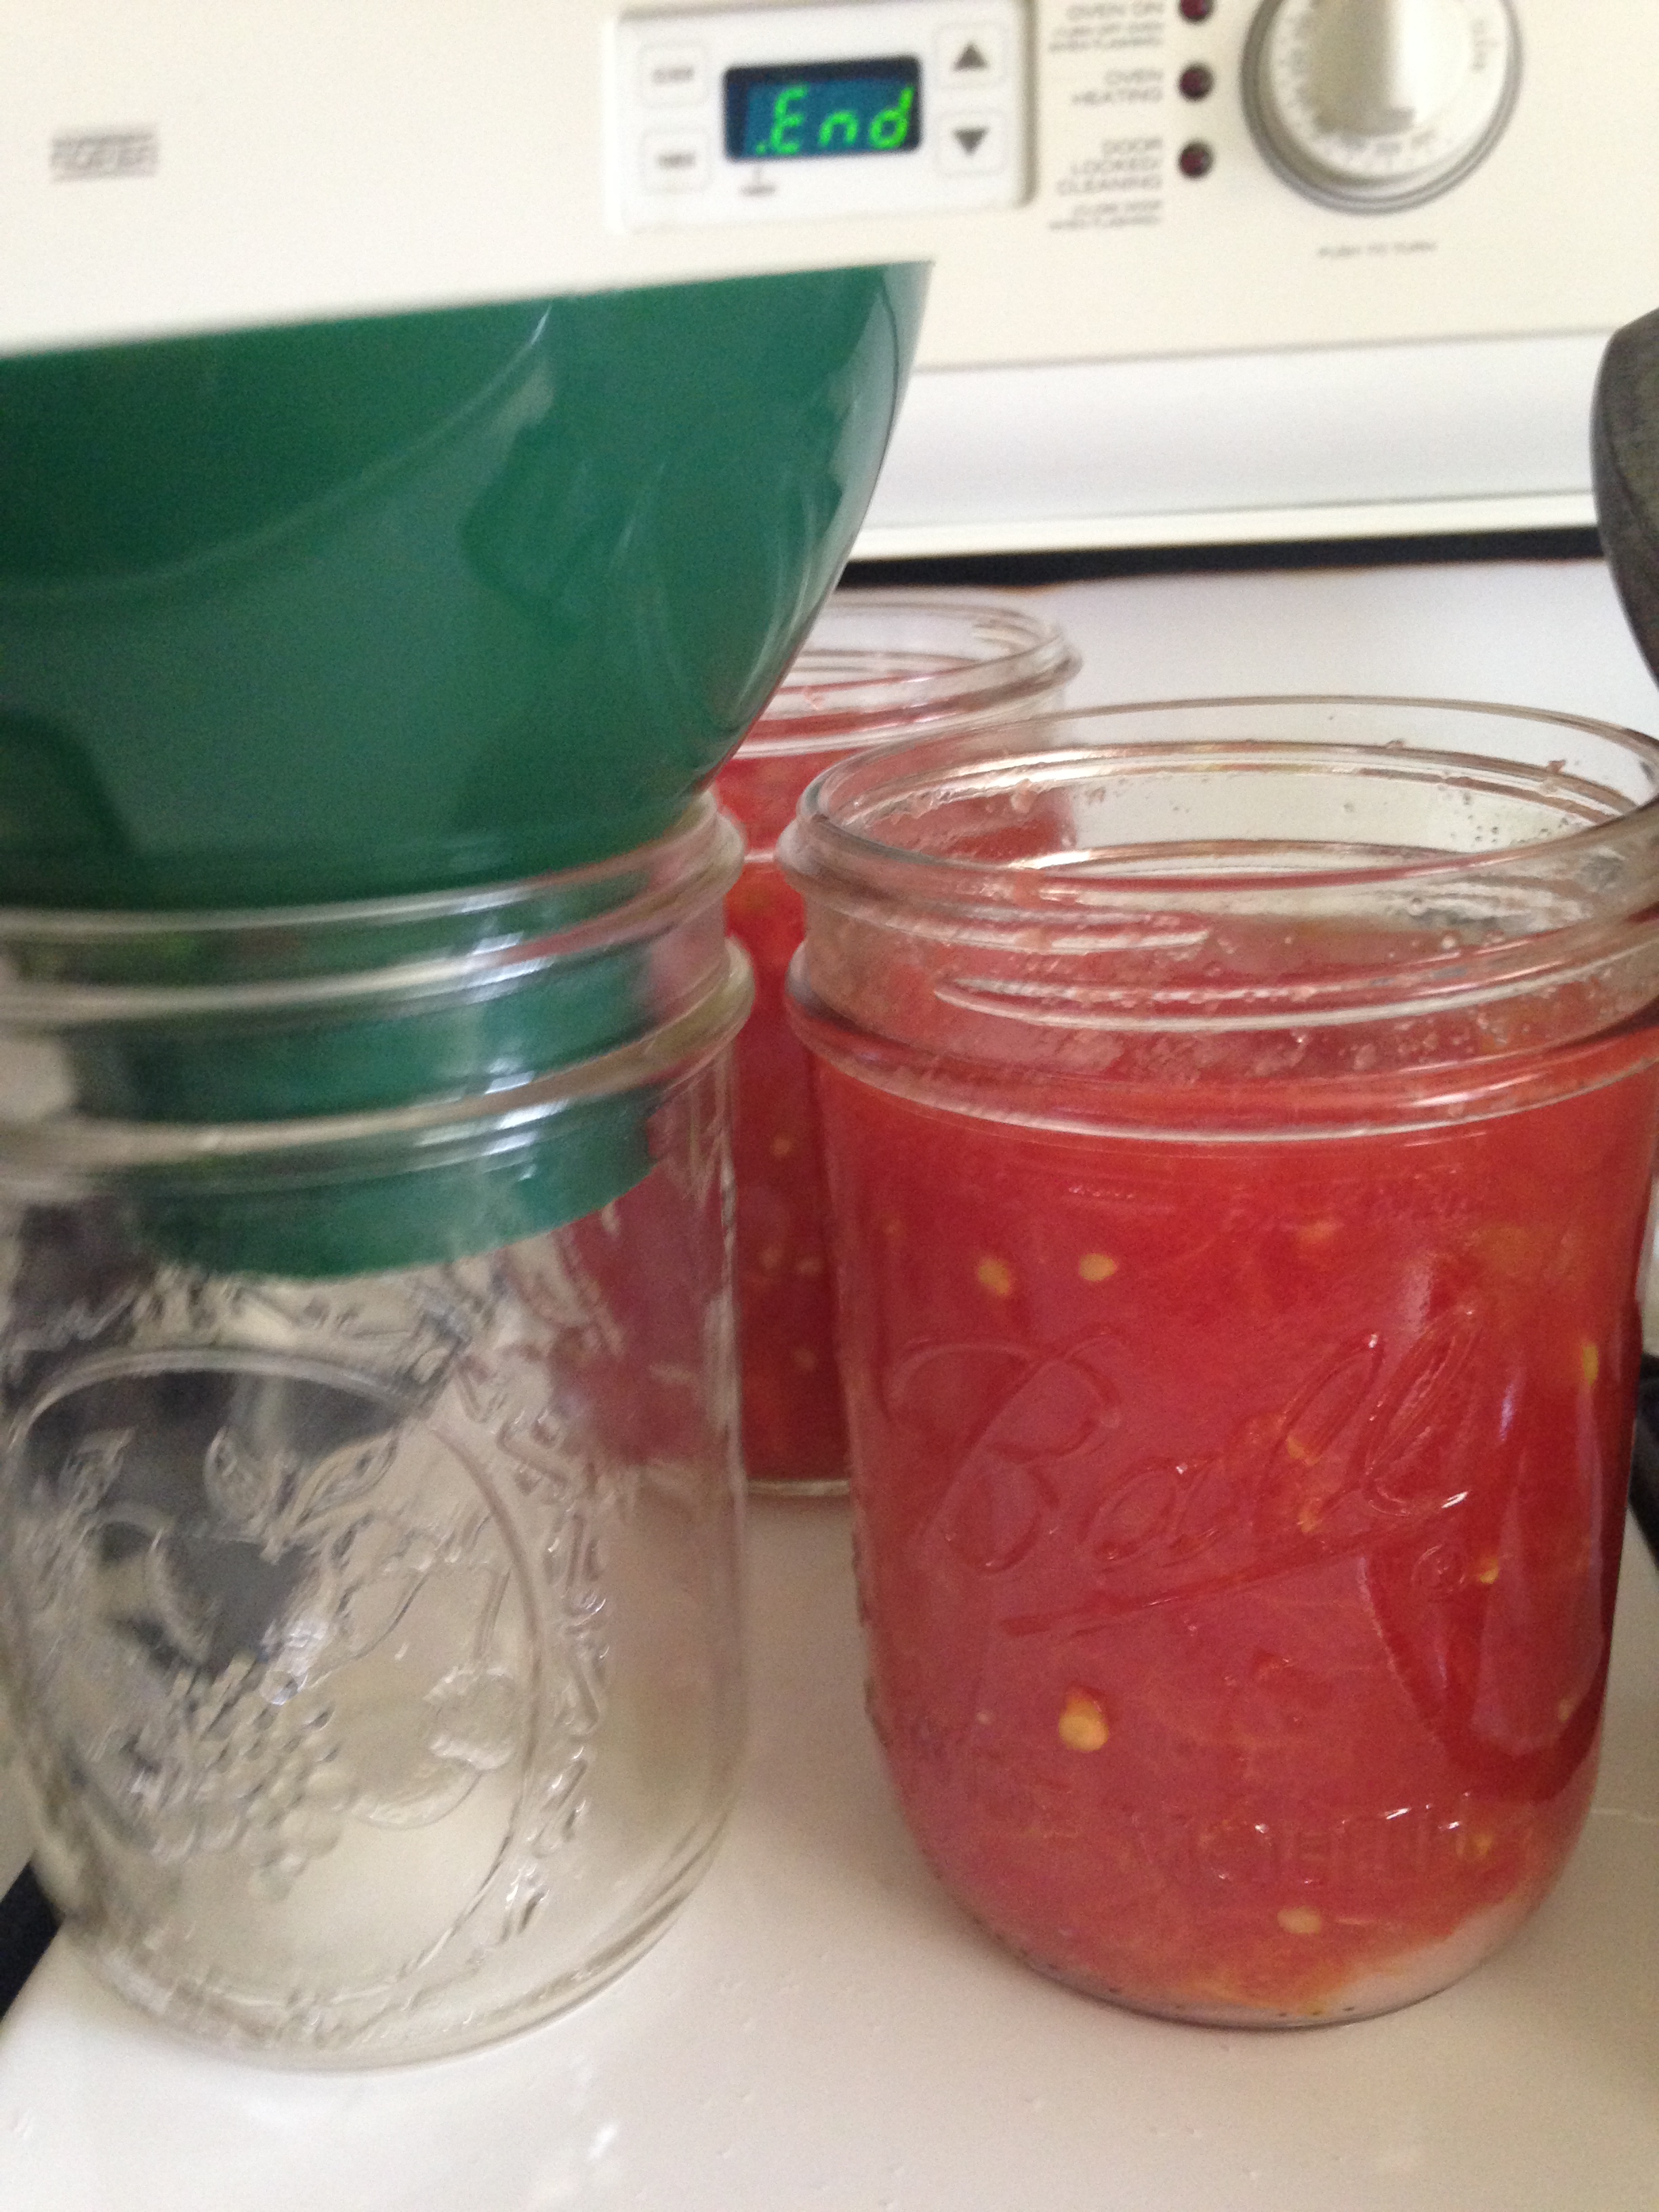
Run a knife around the inside of the jar to removed any bubbles.
Clean the rim of the jar with a clean dishcloth or paper towel.
Dip the flat lids in hot water to enhance sealing and screw on the ring.
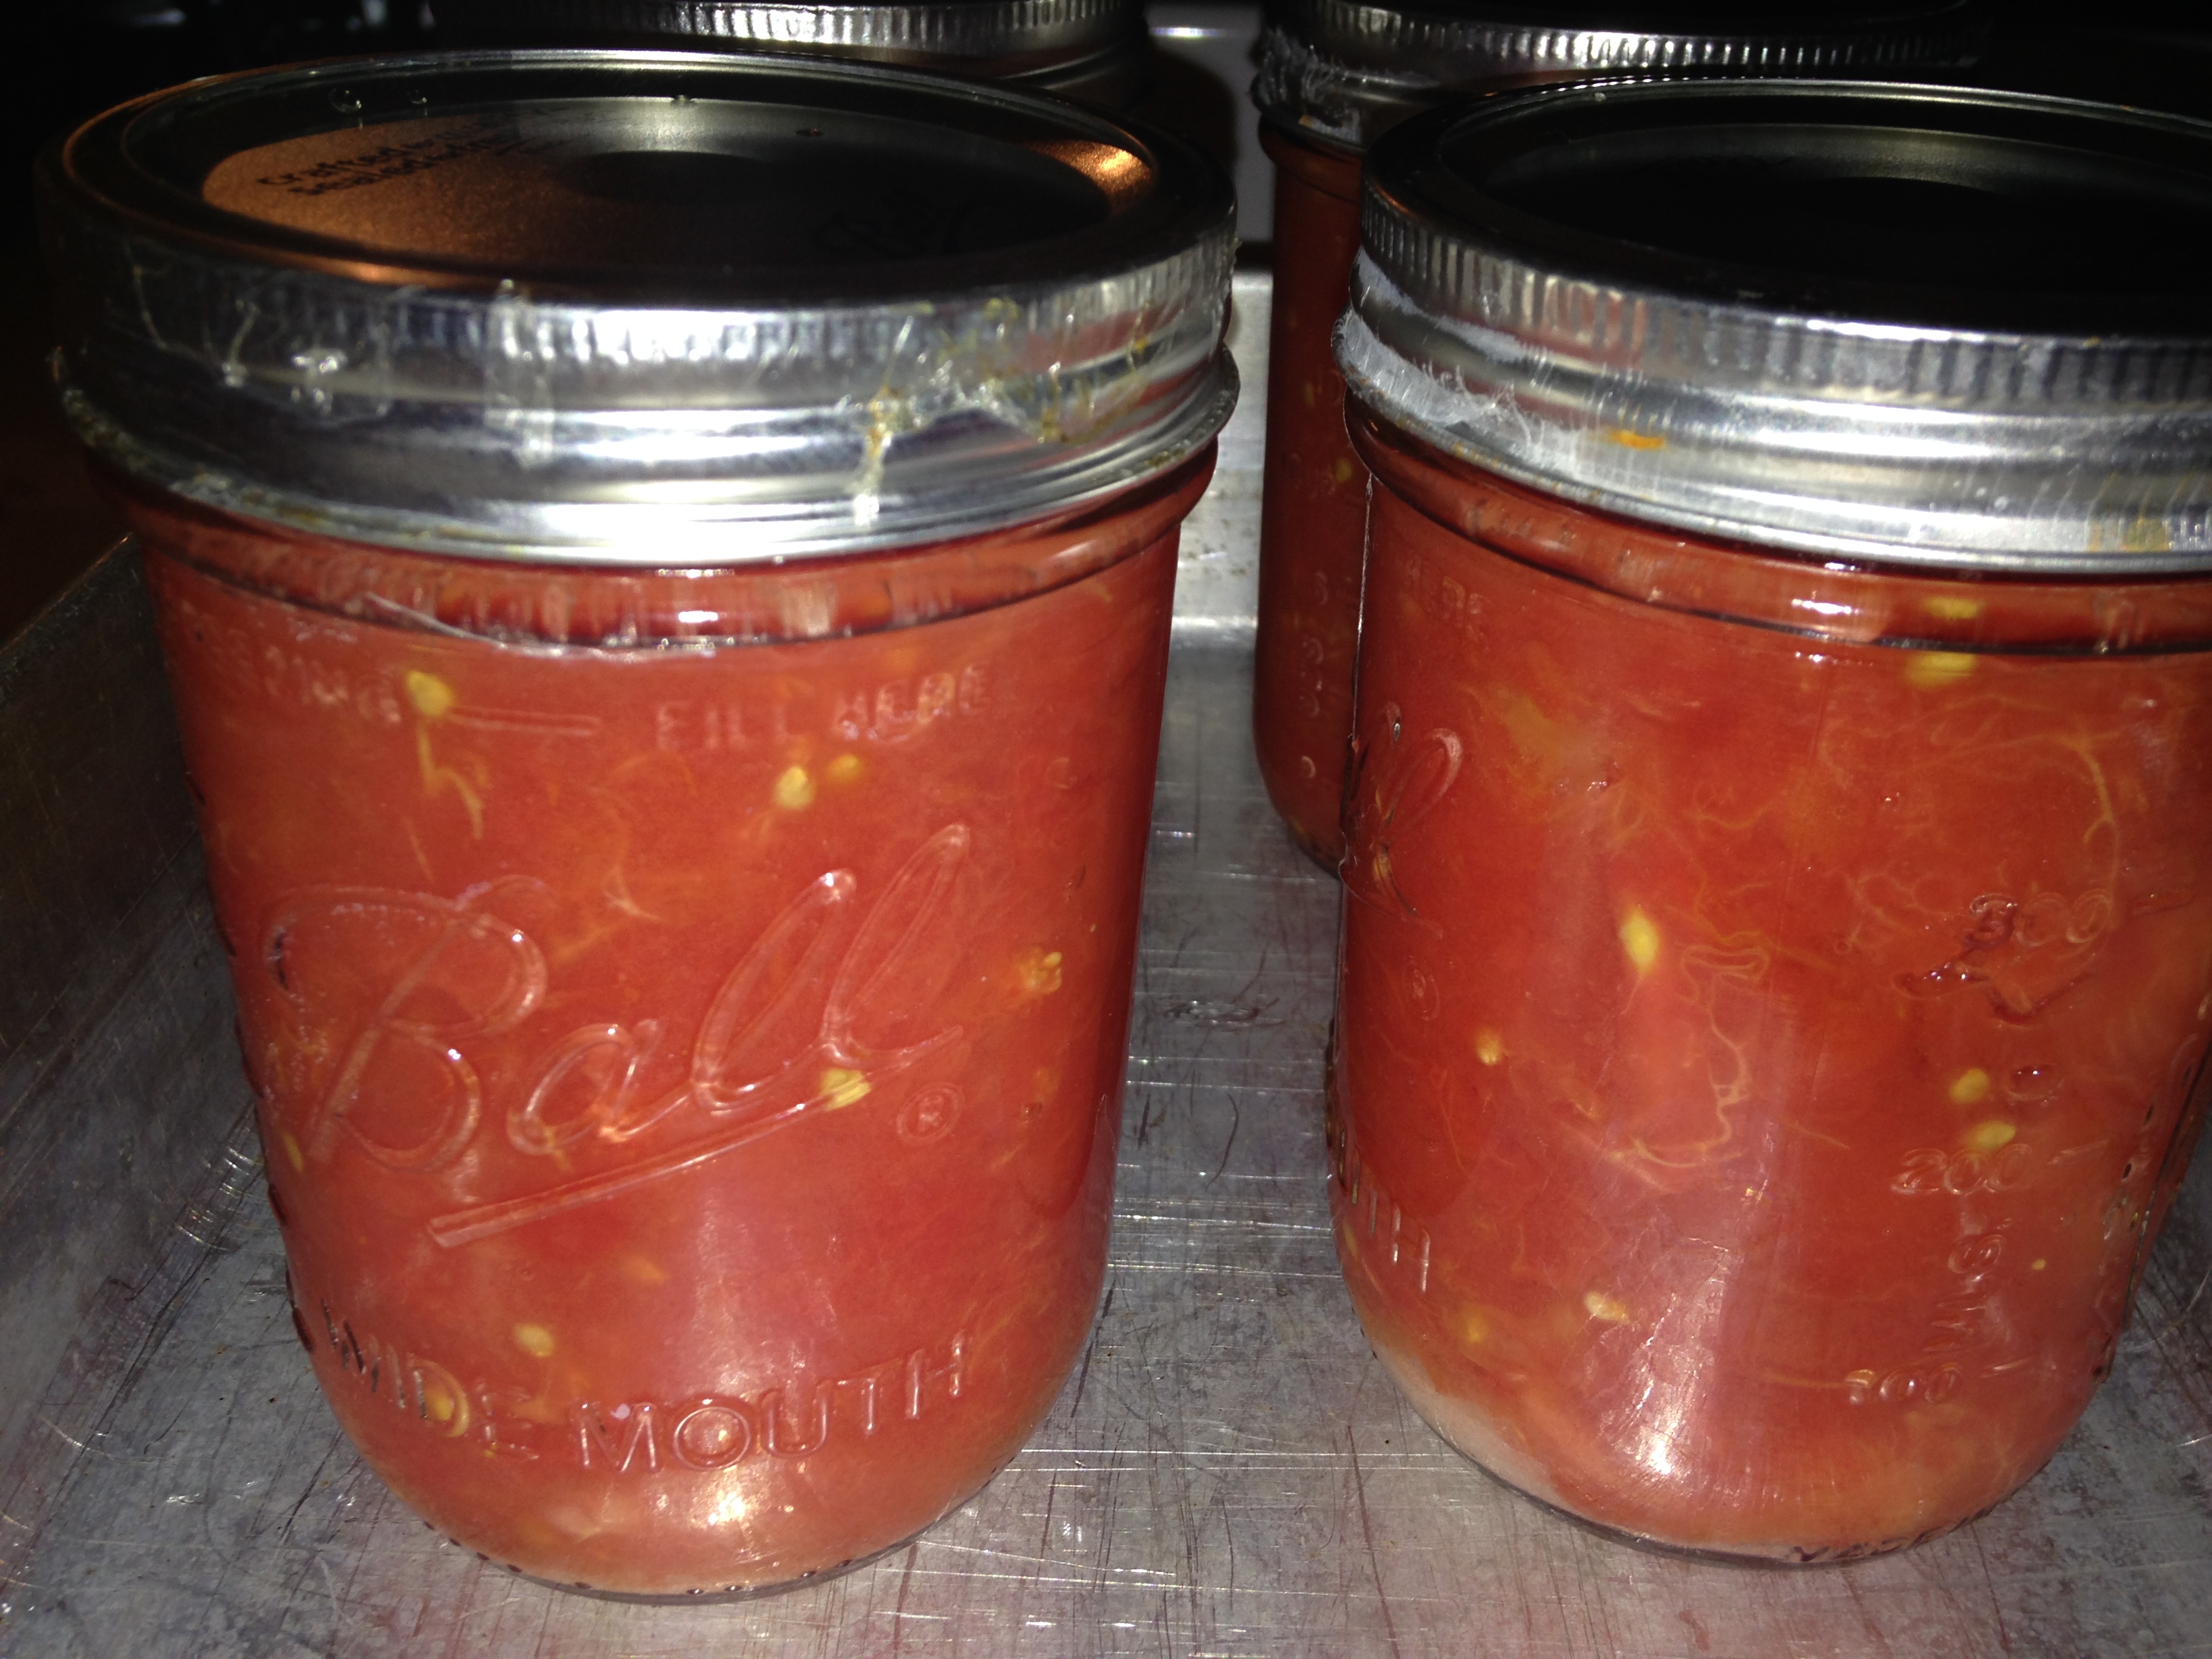
Now . . . they’re all ready to process. No your not finished yet.
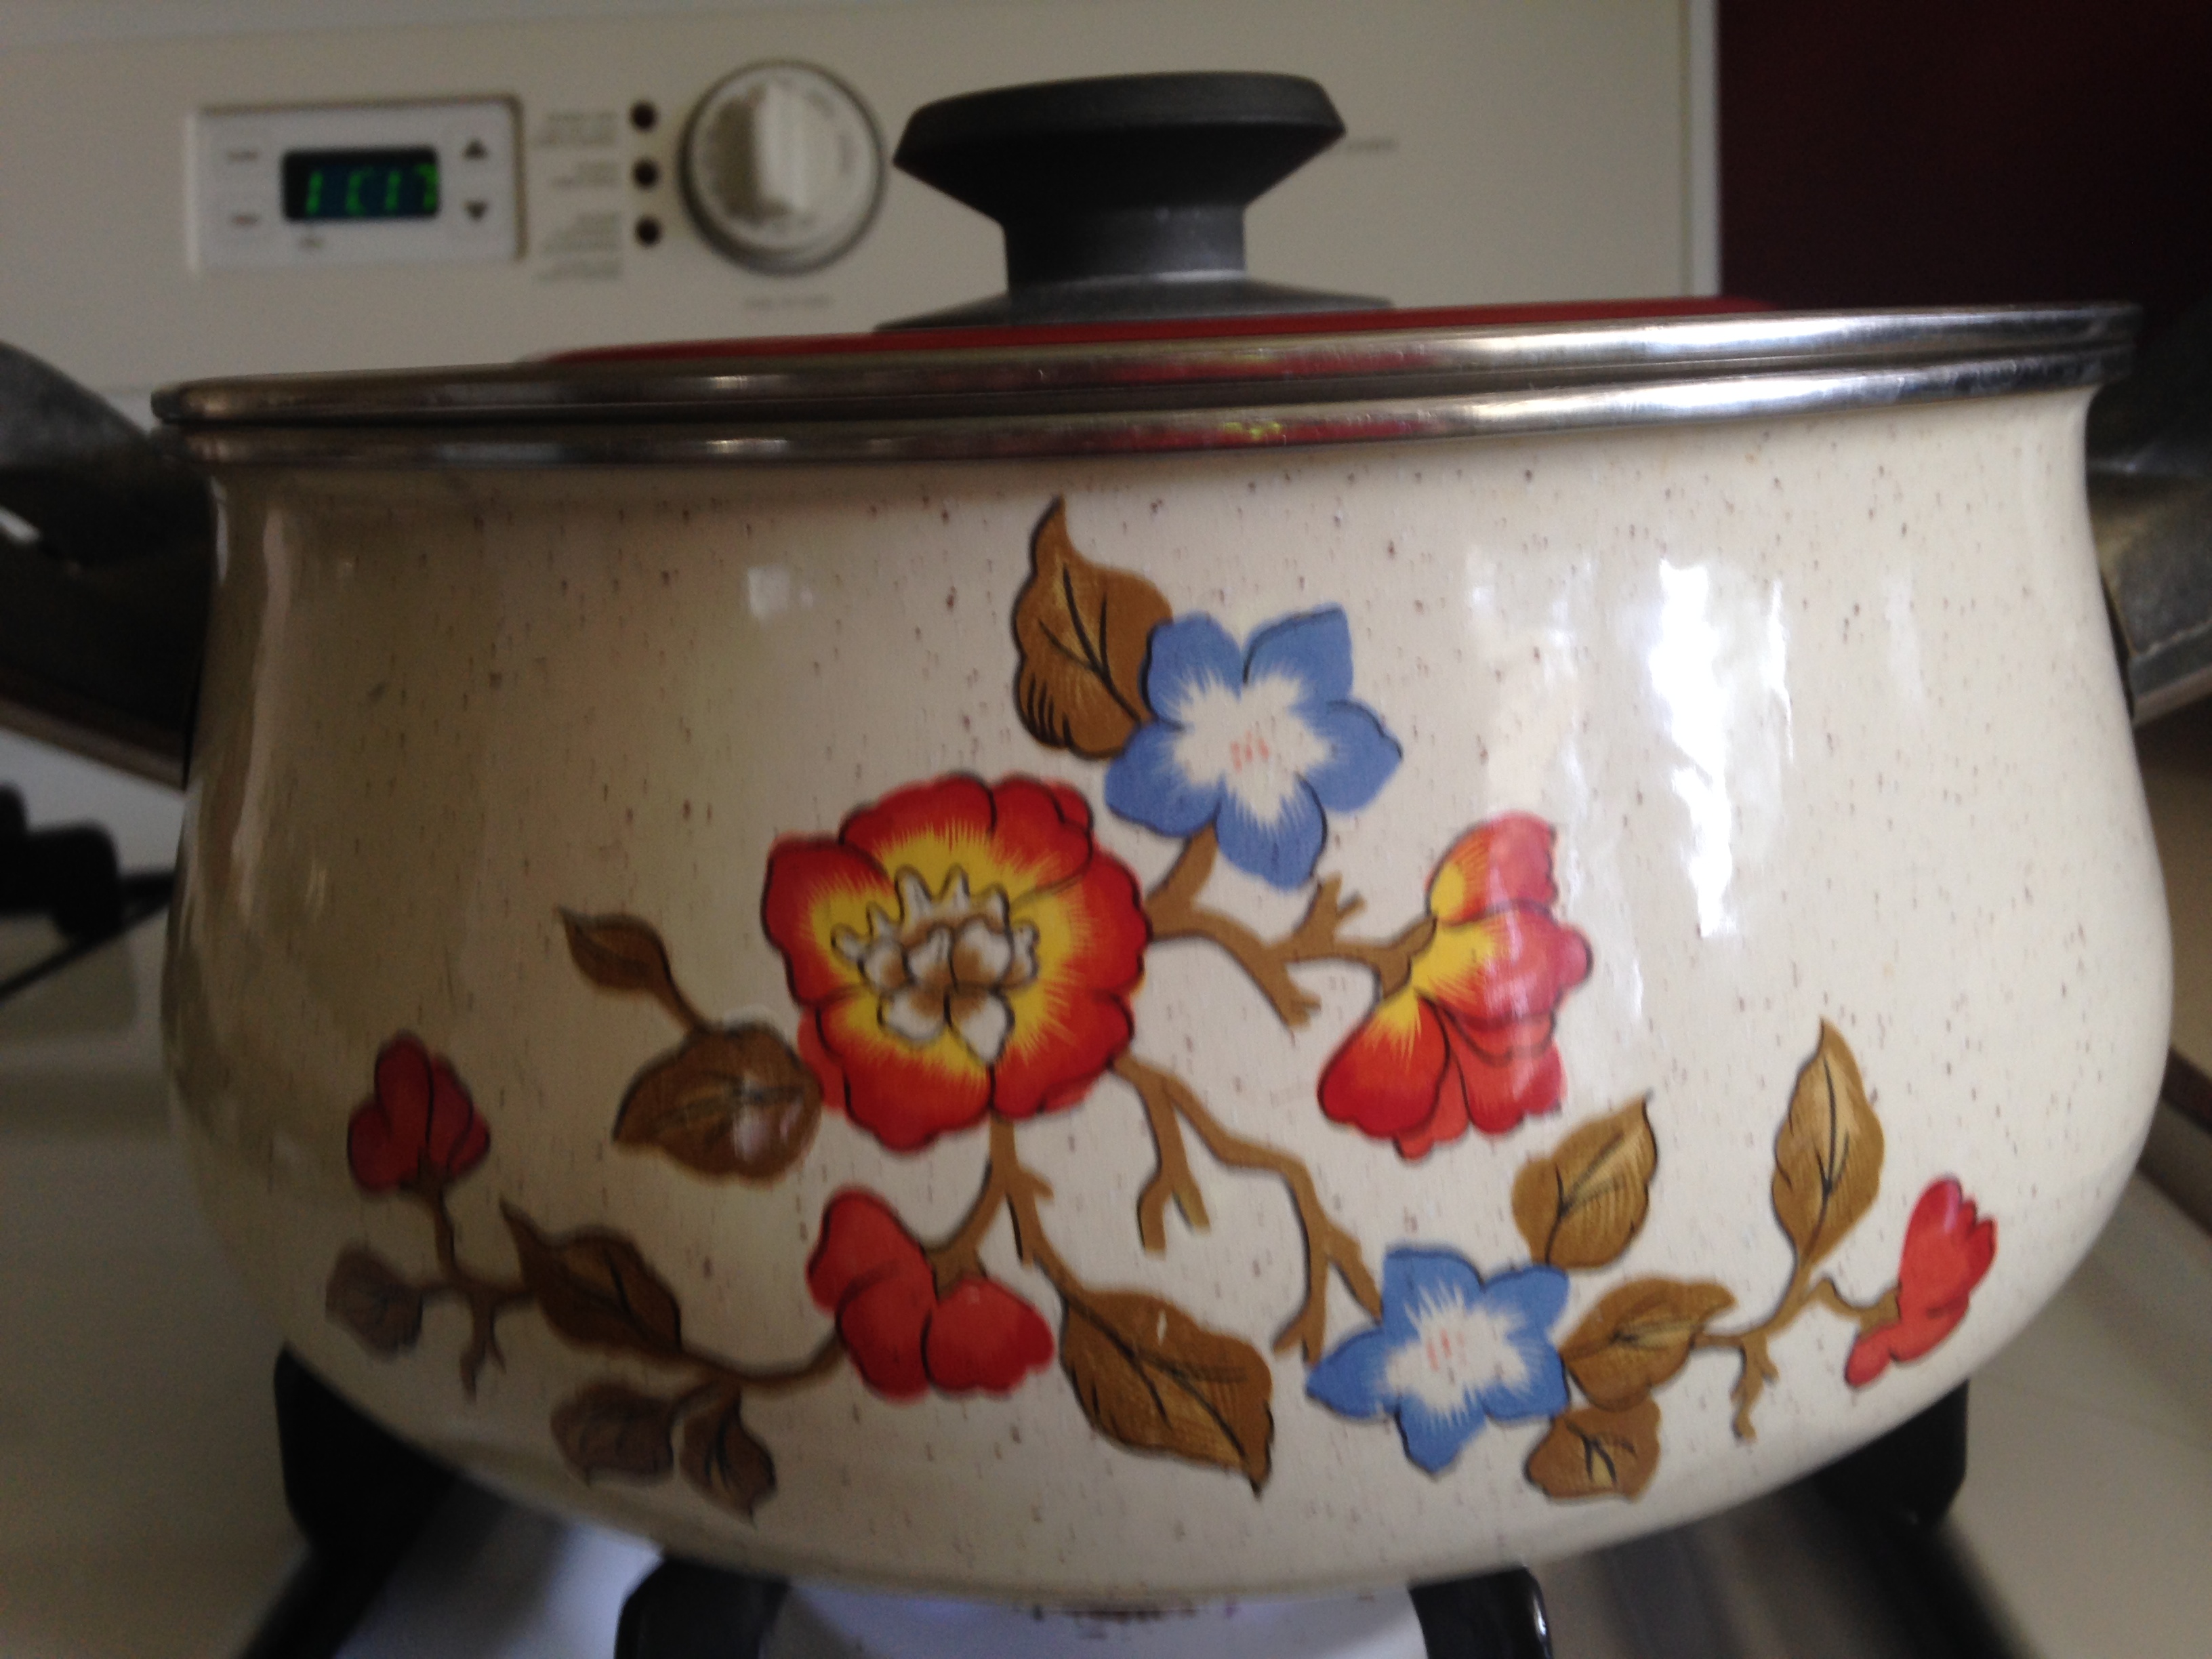
This is my pressure canner.
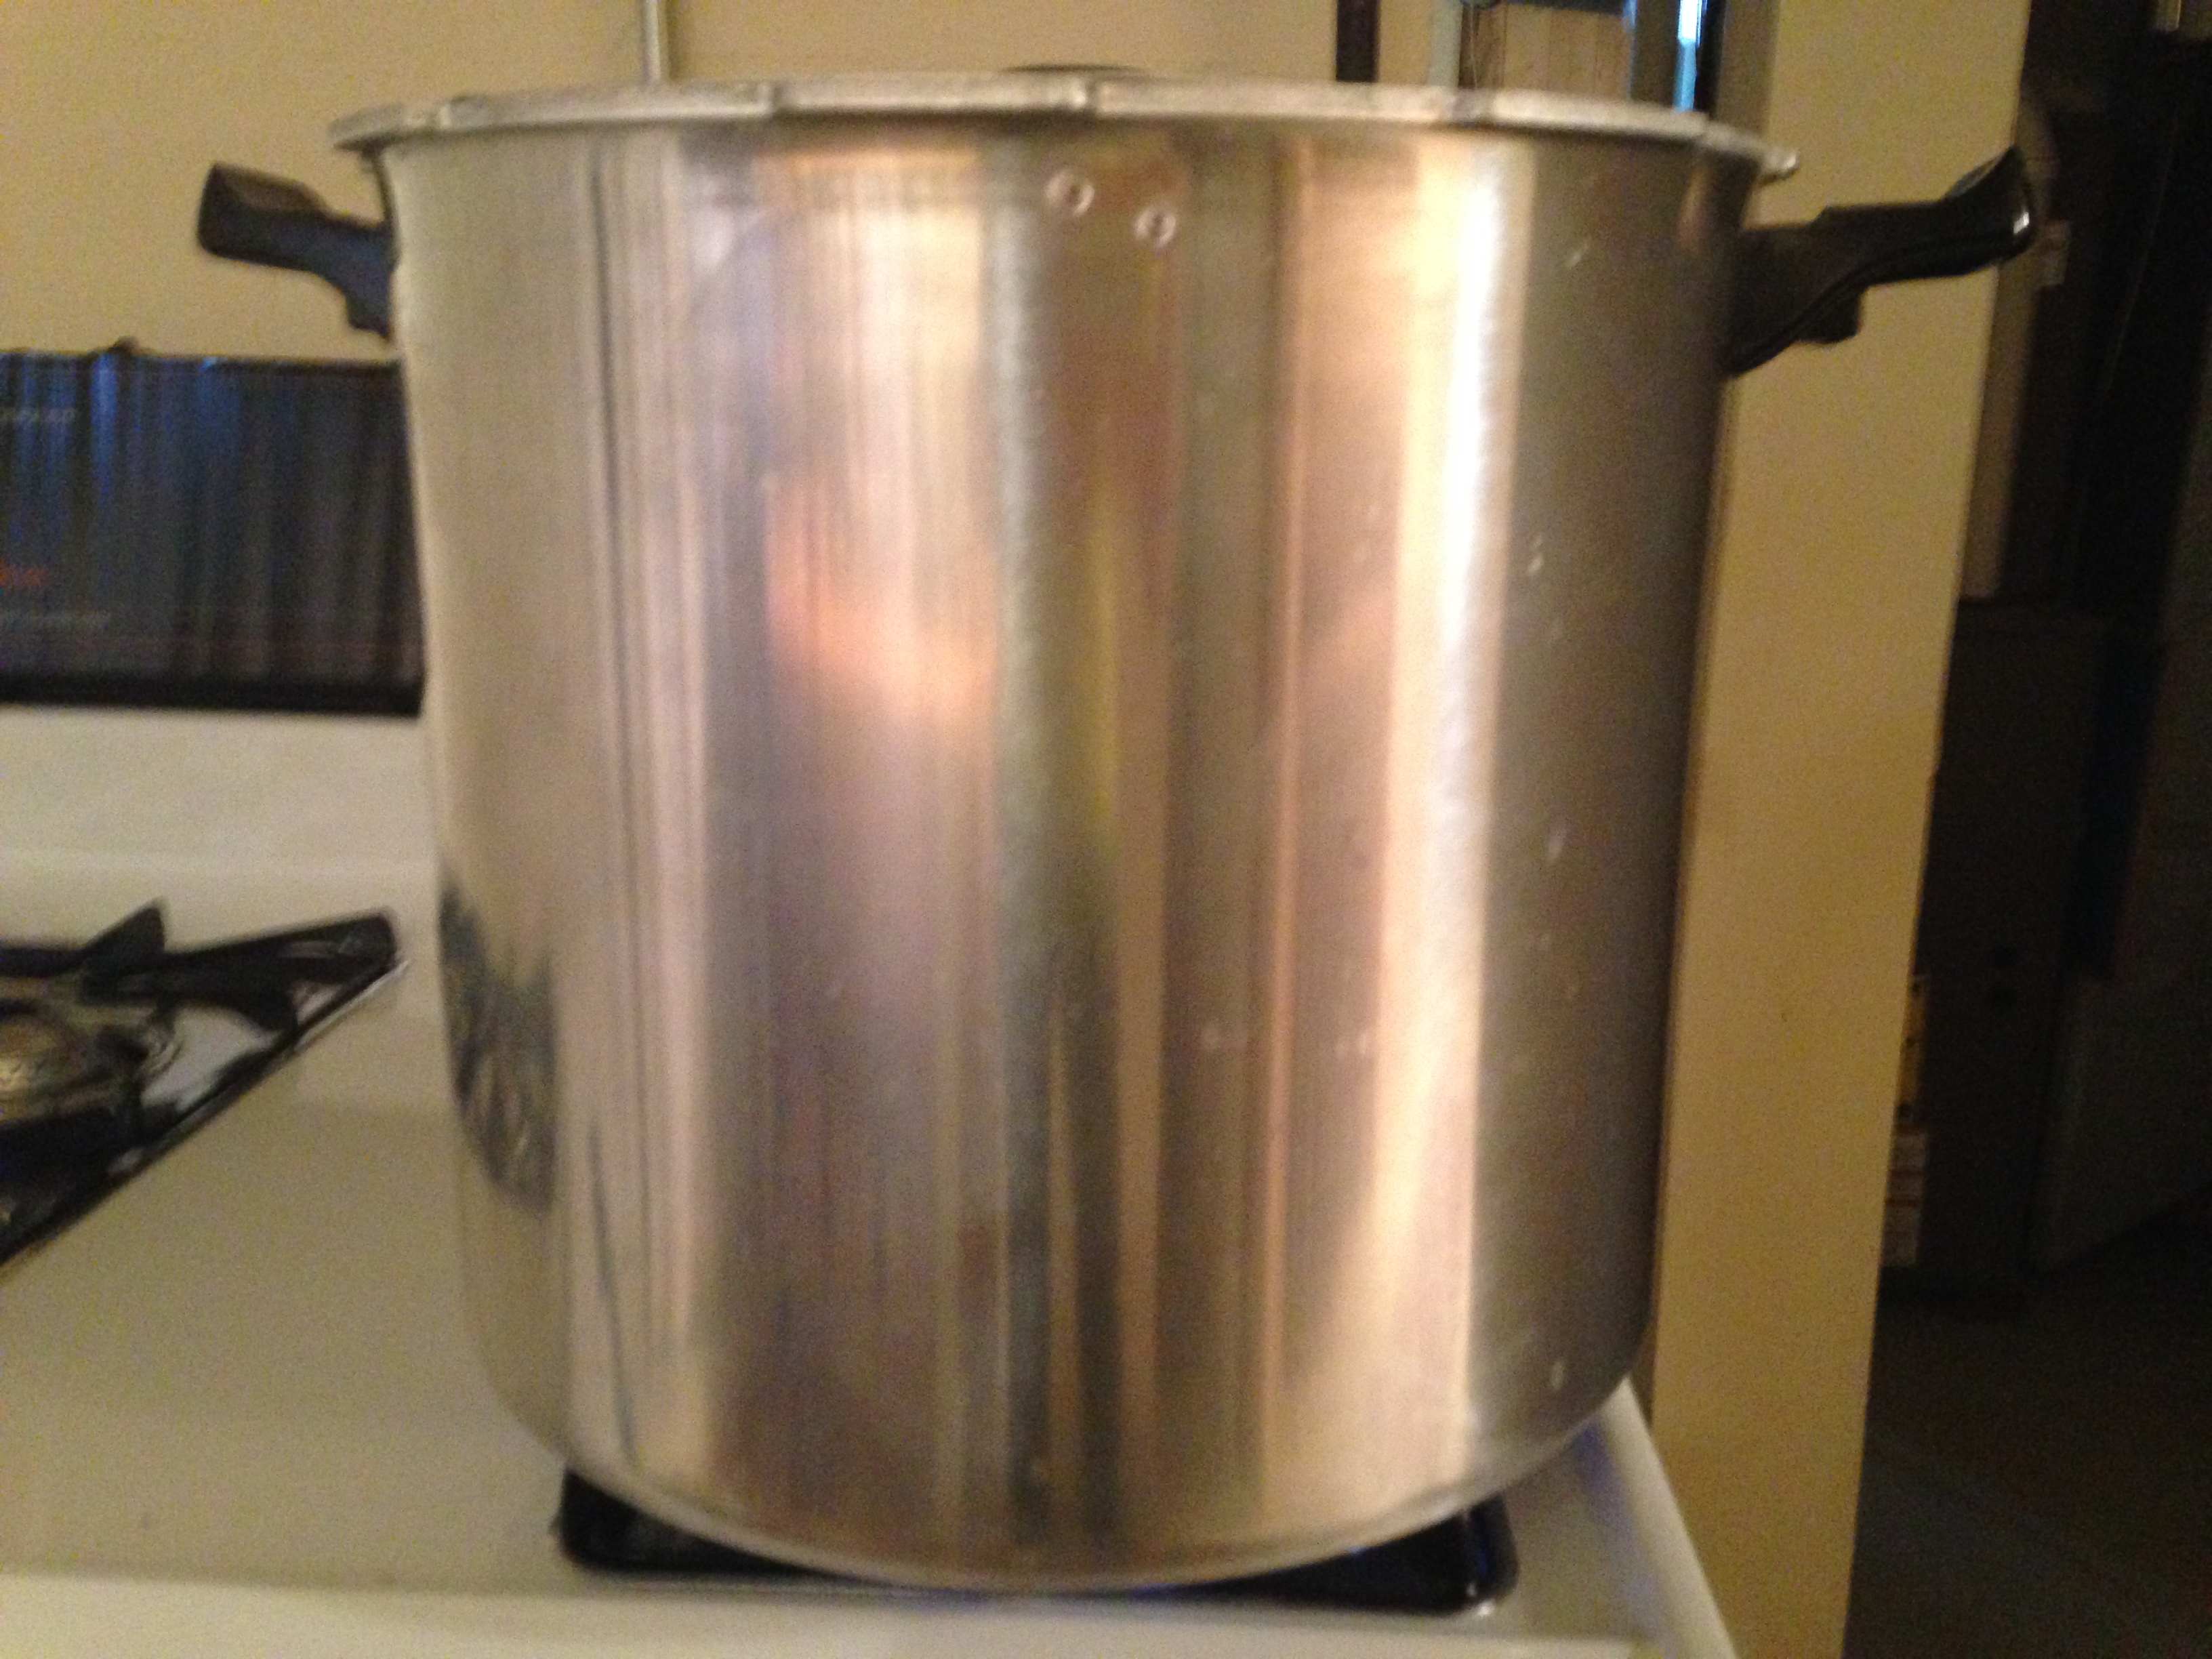
For tomatoes, however, I just process them in a water bath. I use the bottom part of my pressure canner for this but water bath canners do exit. I just chose not to spend money on that when I can use this for both kinds of canning.
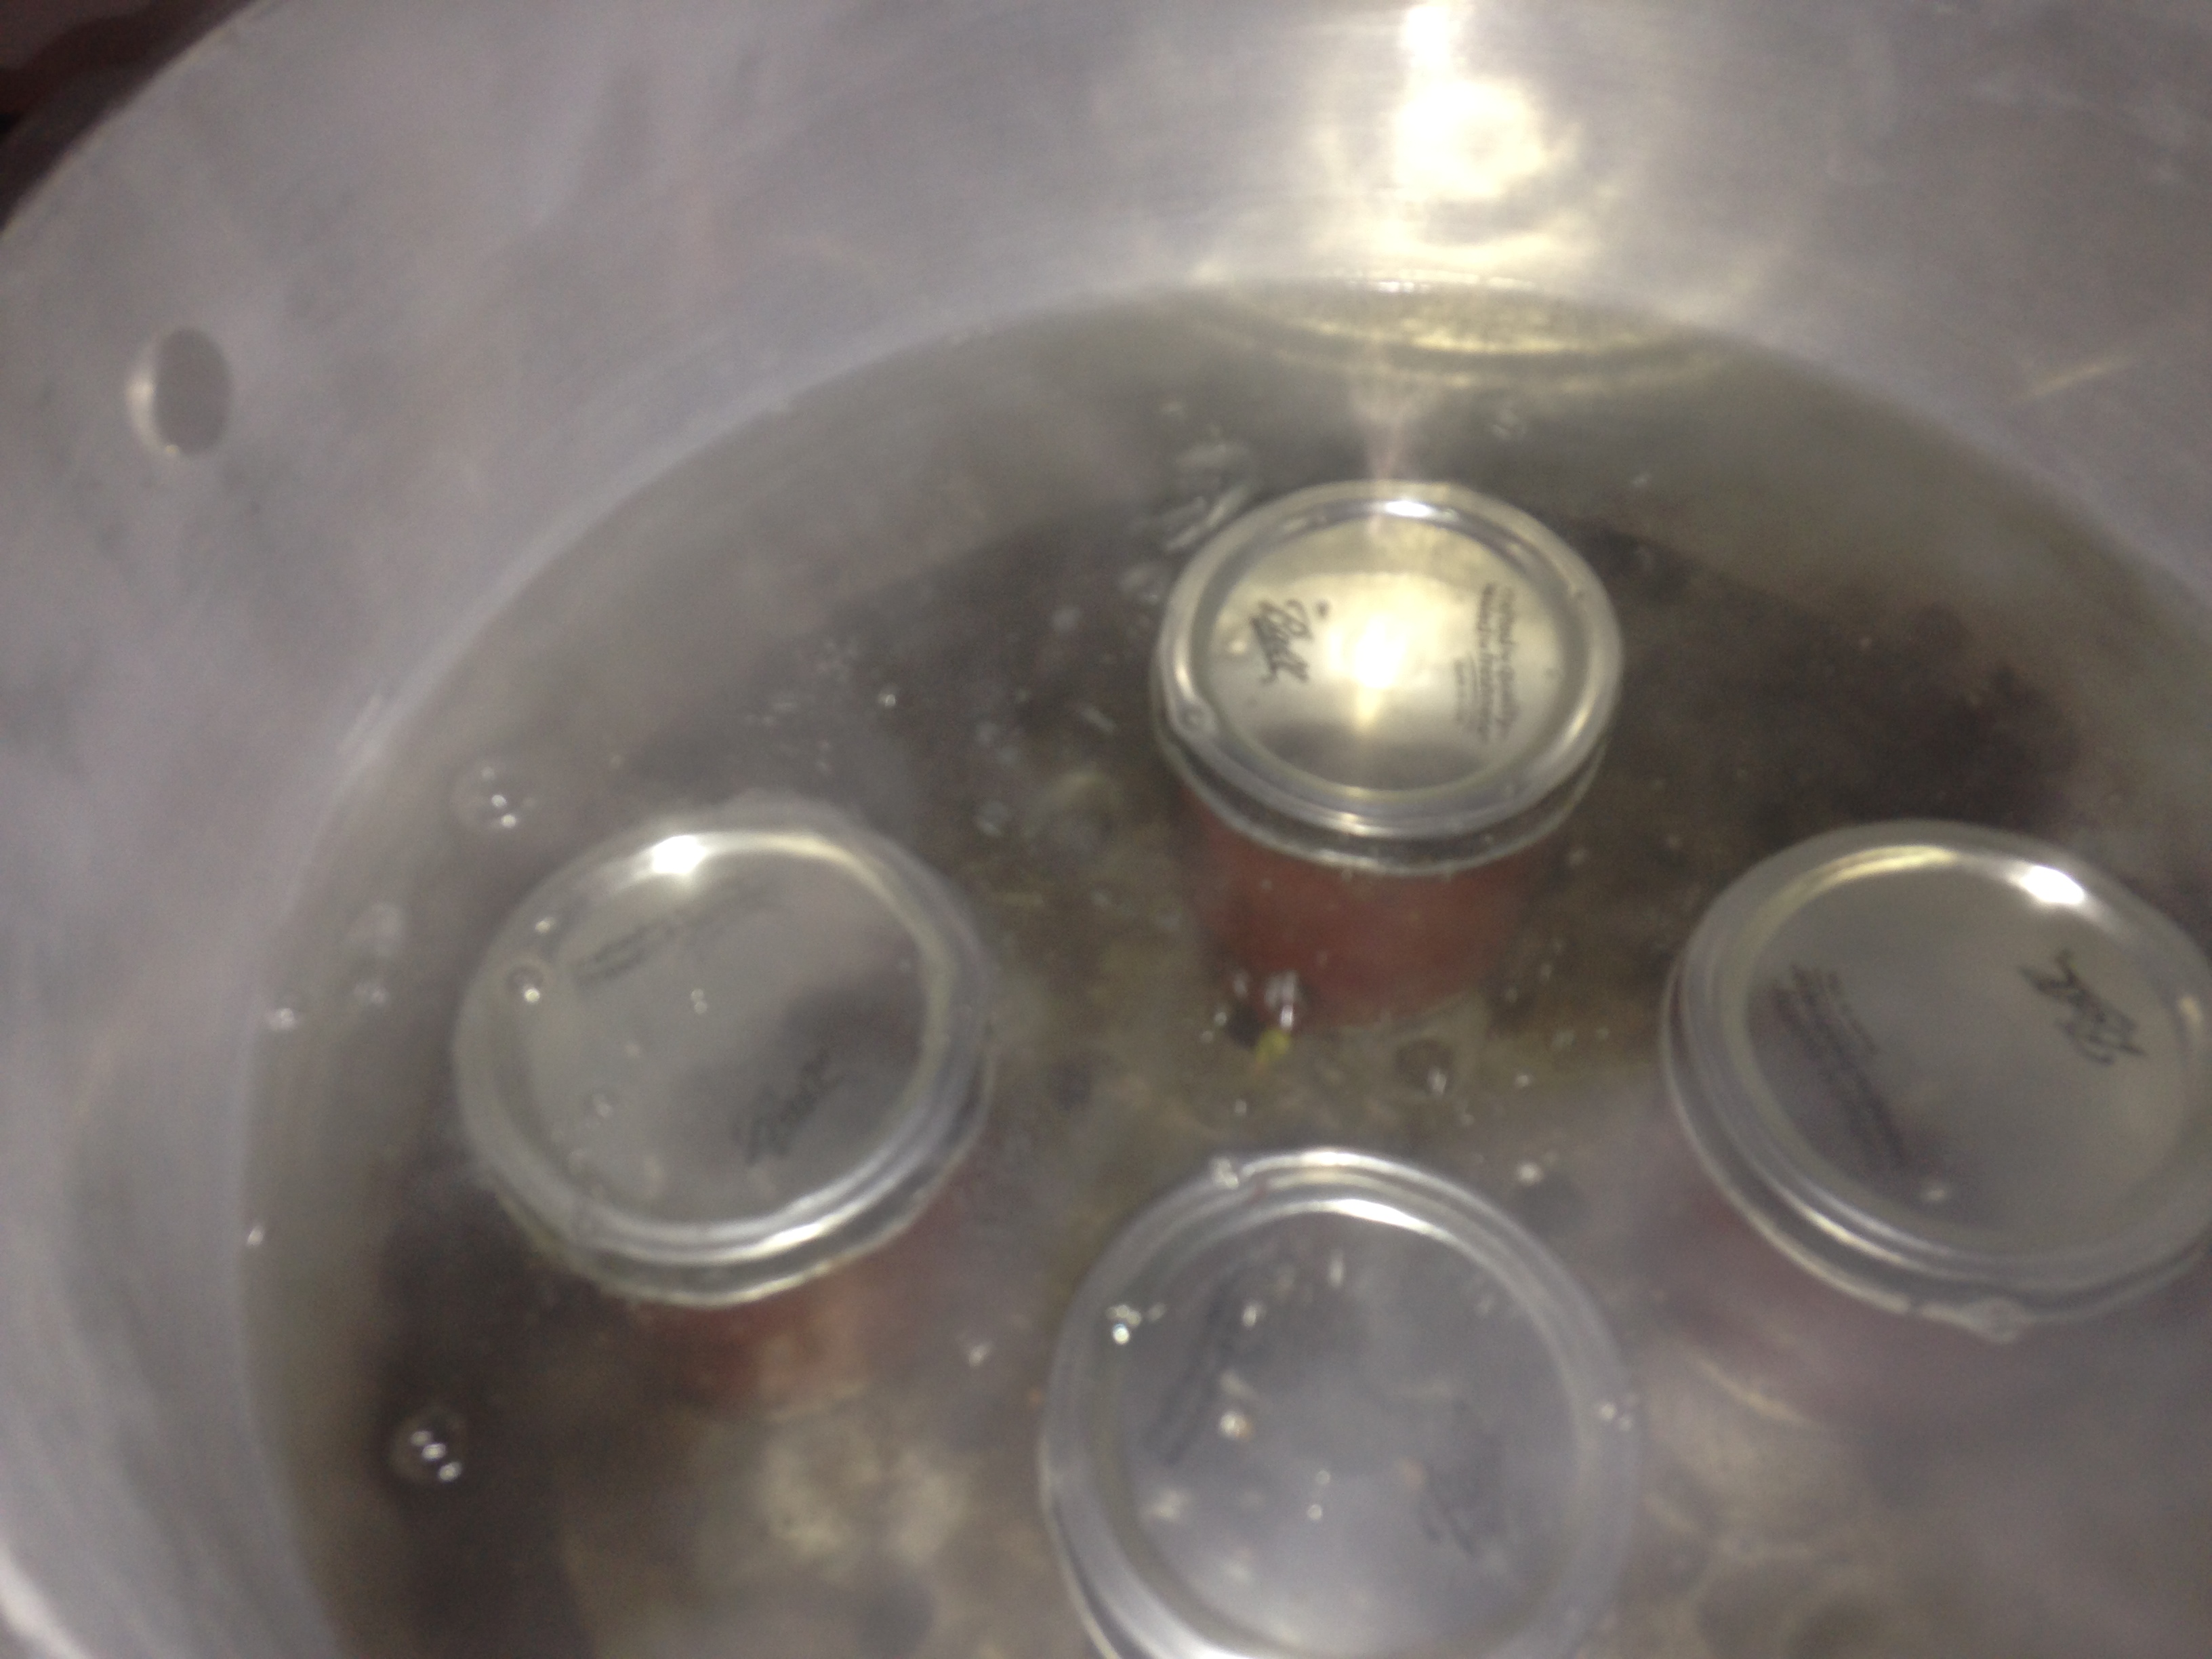
While you are boiling the tomatoes and filling your jars, bring to a boil enough water in the canner that it will cover the jars by at least an inch when you place them inside.
Once the water is boiling, carefully add the jars of hot tomatoes to the canner. . .

Process the tomatoes with the lid on for 10 min for both quarts or pint jars. Start timing when the water returns to a boil.
Carefully remove jars when process time is up and place on a rack to seal, undisturbed, for 24 hours. You will know they are sealed when you hear the lids “pop” and cannot be pressed in when you push on them with you finger.
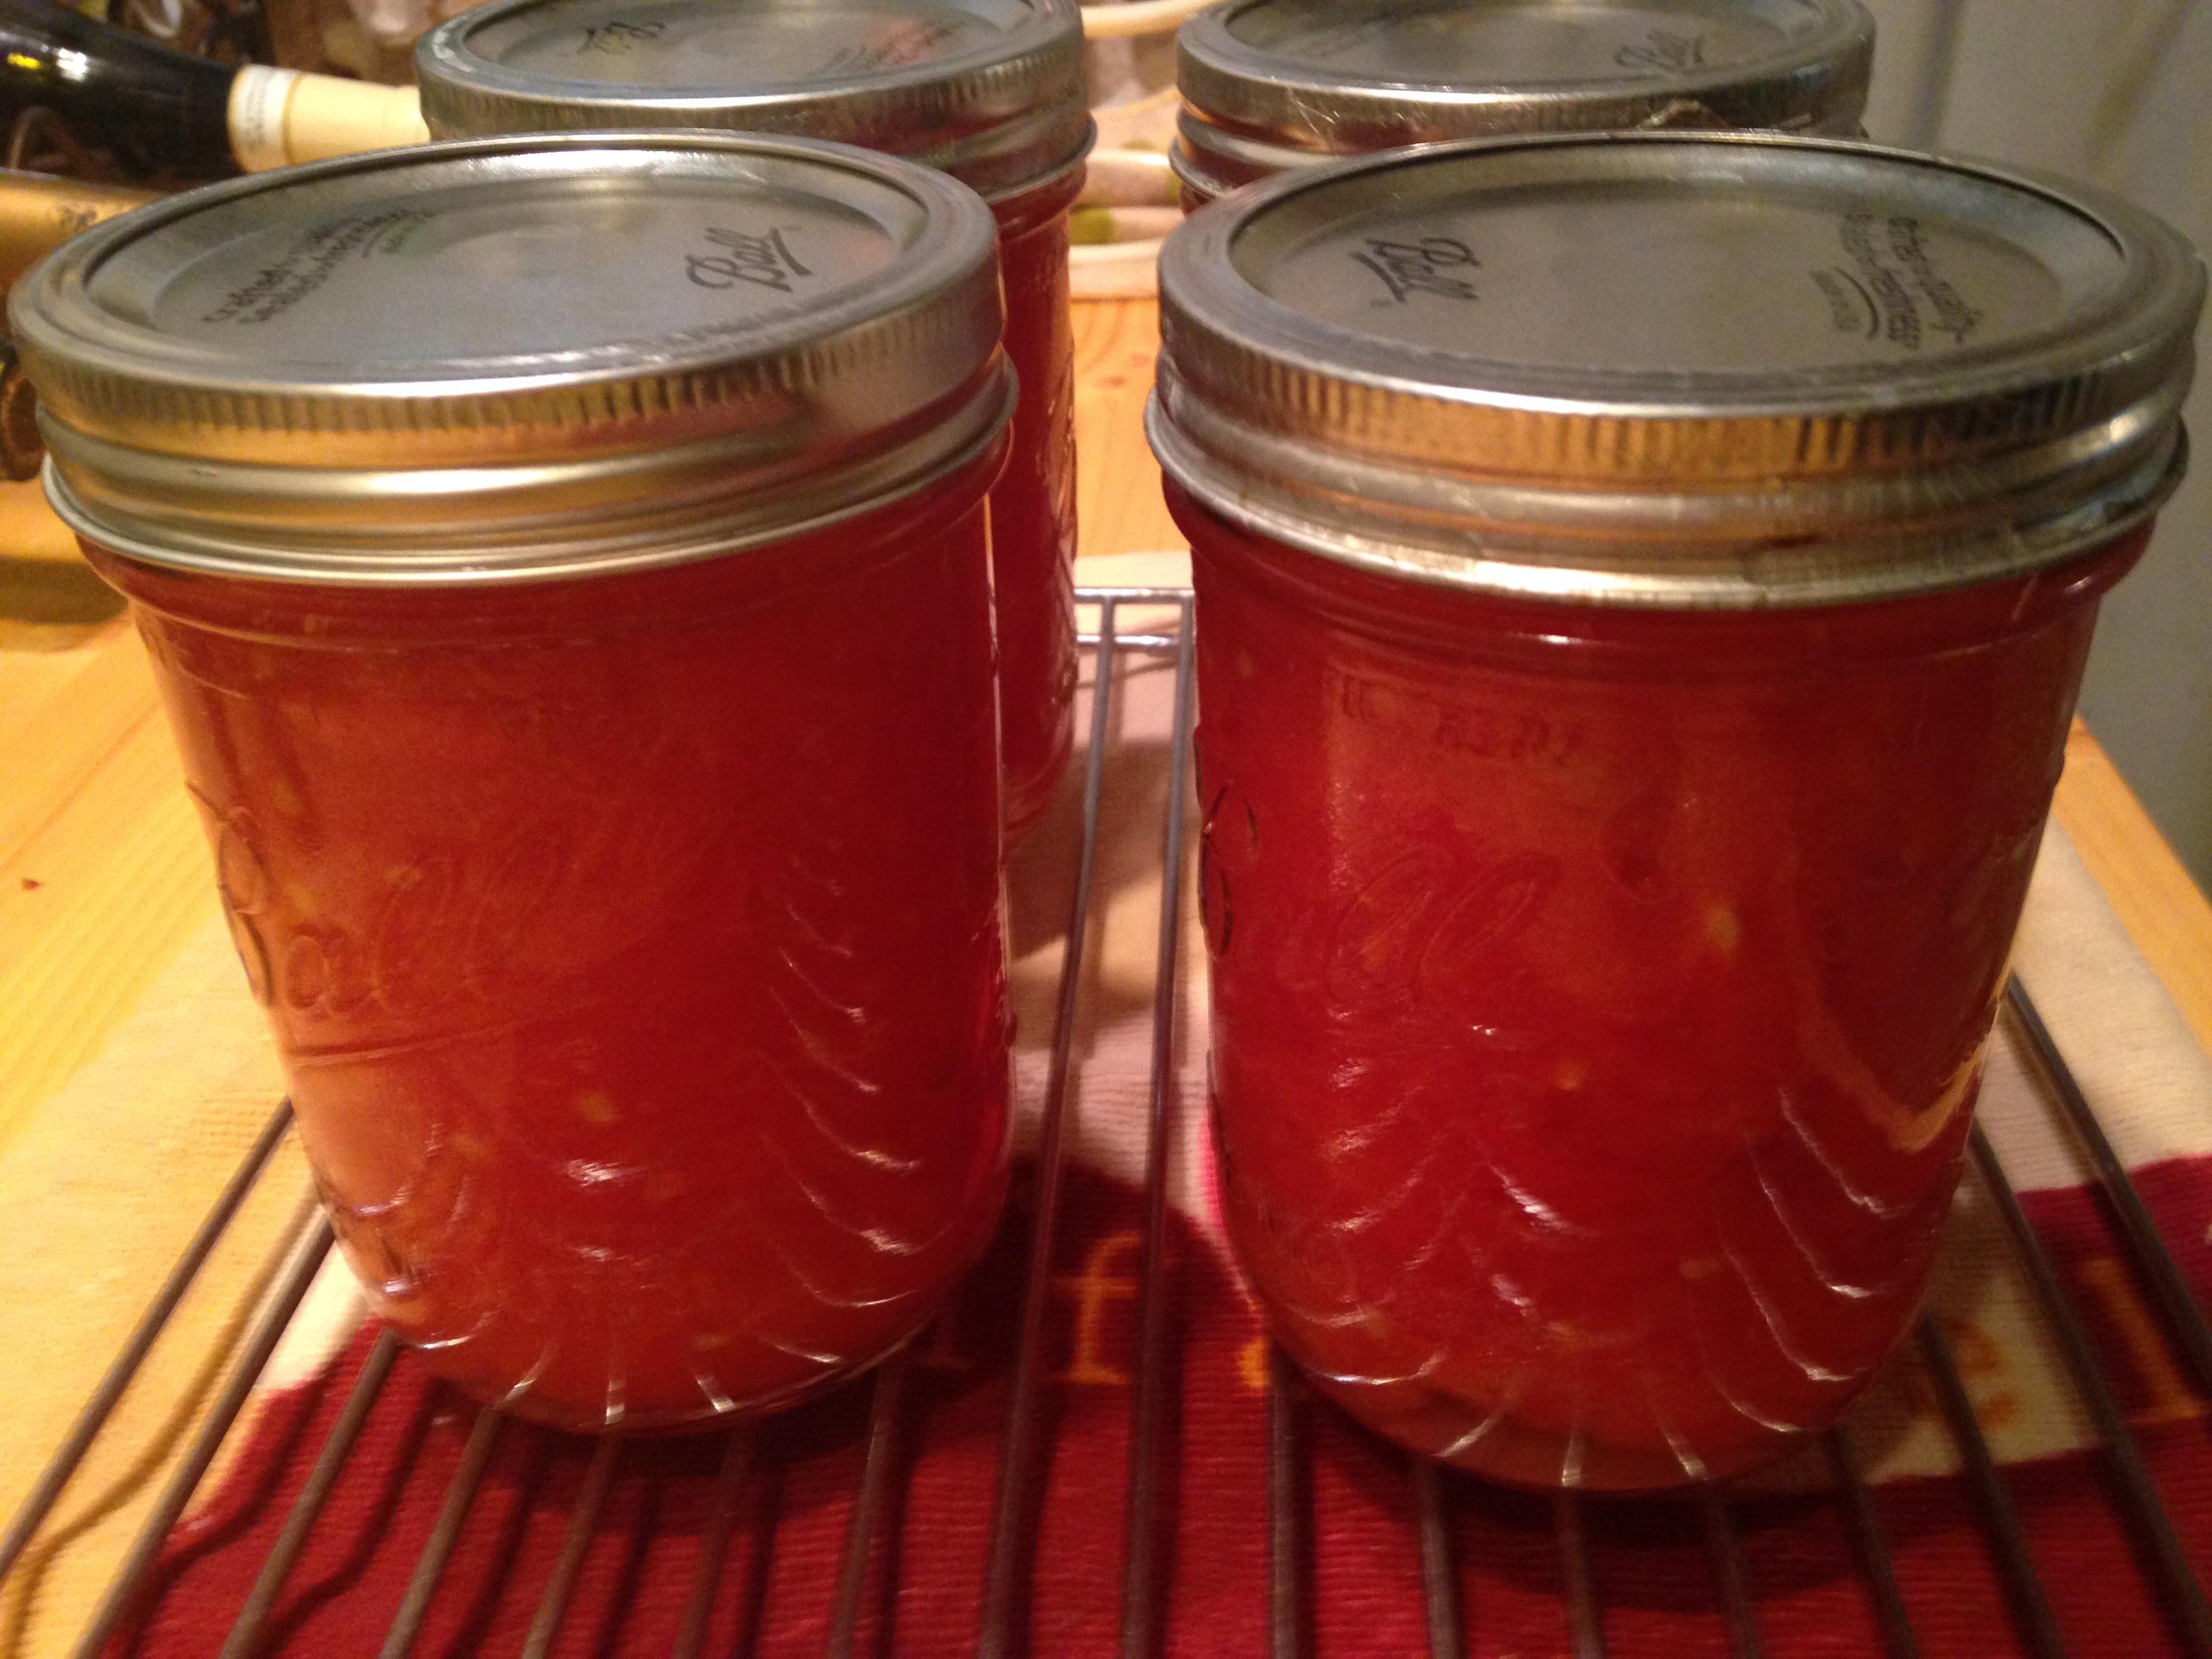
Nooowww you’re done! Label the tops of the lids with what you have inside and the year so you don’t forget.
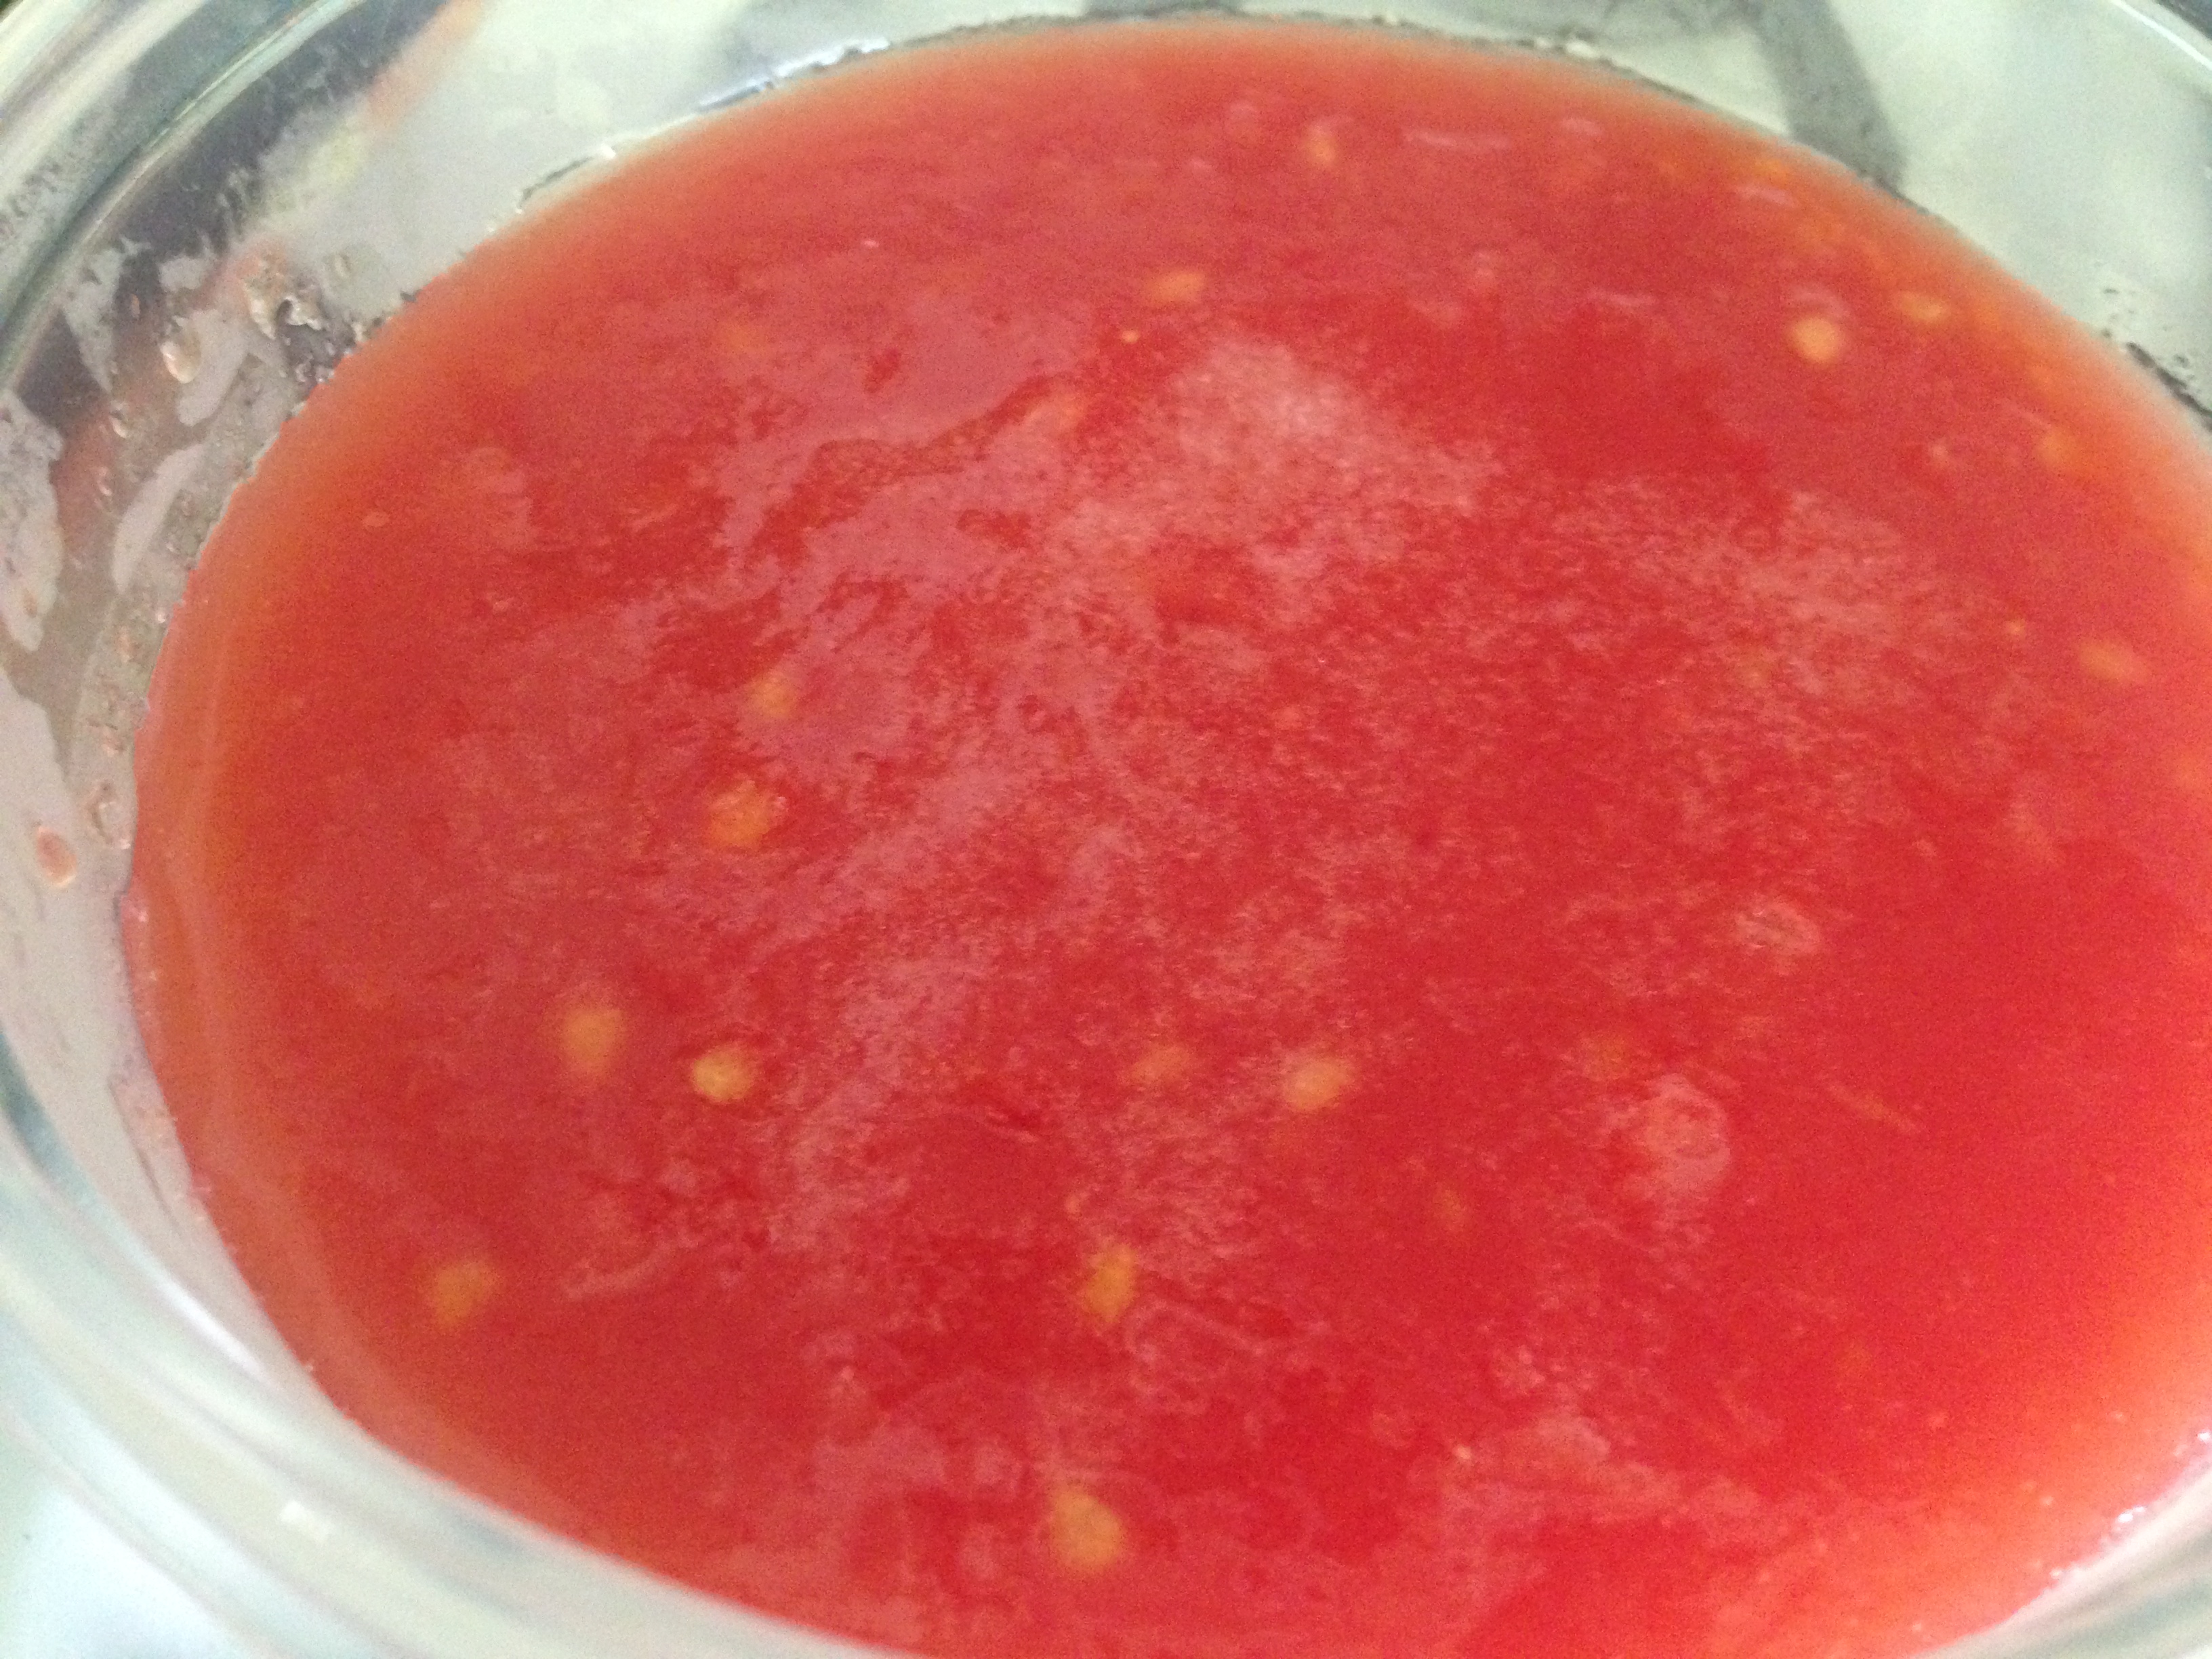
There is usually extra juice in the pan when I’m done and, because I hate wasting food, I just measure it, pour it into a ziplock freezer bag or plastic container, label it and put it in the freezer to use in other recipes throughout the year. But that’s totally optional. Just my weirdness.
Stay tuned for more tomatoey goodness to come!
“We are a participant in the Amazon Services LLC Associates Program, an affiliate advertising program designed to provide a means for us to earn fees by linking to Amazon.com and affiliated sites.”
© 2014 – 2017, Pamela. All rights reserved.


One Reply to “Tomato canning 101”